When working in a lab, dealing with contaminated samples is a major concern, and it can feel like a frustrating setback. But don’t worry—contamination is a common issue, and there are ways to handle it effectively. So, what if the sample is contaminated? Let’s dive into it!
Answer Section
If your sample is contaminated, the key is to act fast to identify the source and prevent further issues. This involves investigating potential causes, re-evaluating protocols, and implementing preventive measures to maintain sample integrity.
Why Contamination Happens
Contamination can happen for many reasons, and even the most experienced professionals face it sometimes. But when you’re in the middle of an experiment, those contaminated samples can mean wasted time, resources, and credibility. Trust me, it’s something we’ve all experienced, and we’ve had to troubleshoot through.
There are several main culprits for contamination. Let’s walk through them:
Common Causes of Contamination
Poor Sample Handling
Are your gloves clean? Are your tools sterile? Little mistakes can lead to big consequences. Contamination often occurs due to inadequate handling techniques. Sometimes, we forget the smallest steps—like properly capping an HPLC vial after every use—and these tiny missteps can invite contaminants to crash the party.
Unclean Equipment
You’ve likely been there before: rushing to finish an analysis and skipping a thorough clean of the tools or equipment. Believe me, it’s tempting to cut corners, but that’s when problems creep in. Even trace residues in an HPLC system or vial can alter results significantly.
A contaminated piece of equipment, like a needle or vial, can impact multiple samples. How often do you replace consumables? What’s your cleaning protocol? It might be time to revisit those.
Environmental Factors
Sometimes, it’s not you—it’s the lab. Open windows, HVAC systems, or even a neighboring experiment can all be sources of airborne contaminants. Have you ever noticed your results looking strange right after someone finished another process nearby? It’s worth considering how your lab’s setup might be impacting your samples.
How to Identify Contamination
So, how can you be sure the sample is contaminated and not just an experimental error? Here are a few telltale signs:
Inconsistent or Unexpected Results
If your results vary wildly or don’t make sense based on prior experience, contamination could be the culprit. Cross-check your results and compare them with your control samples to be sure.
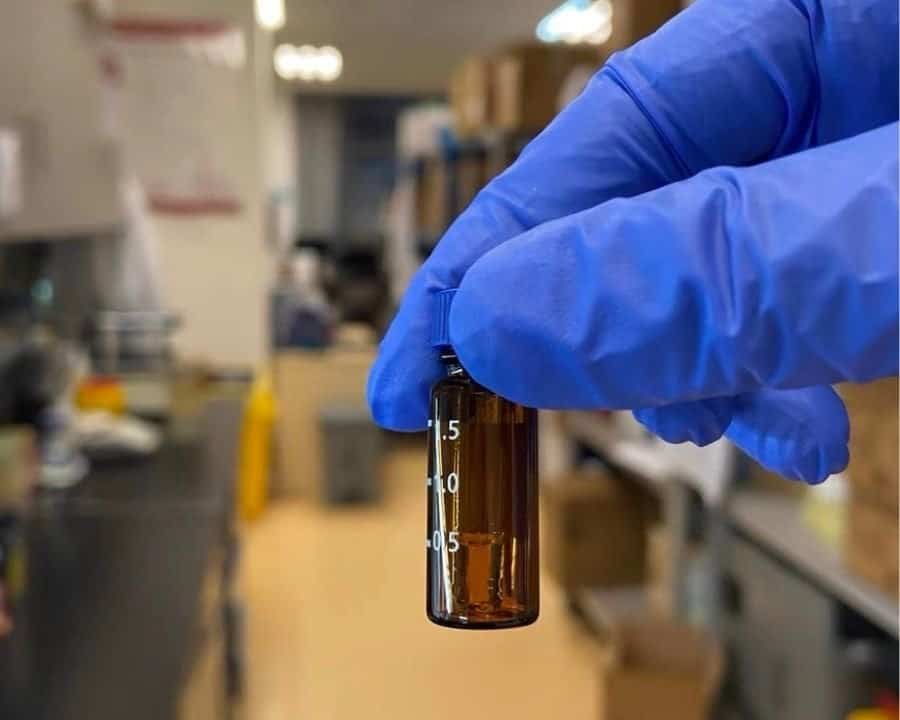
Visual Signs
Are there visible particles or discoloration in the sample? Sometimes, contamination can be seen with the naked eye, and that’s a clear red flag.
Steps to Prevent Contamination
You can’t eliminate all risks, but you can reduce them significantly. Here are some solid steps you can take:
Regular Equipment Maintenance
This might seem basic, but it’s crucial. Keep your HPLC equipment clean and perform regular maintenance checks to ensure everything is in good working order. The cleaner your tools, the more accurate your results. What’s your current maintenance schedule?
Proper Handling and Training
Everyone in the lab should be on the same page when it comes to handling protocols. Do your colleagues know the importance of sealing vials and using fresh consumables each time? It might be worth setting up a quick refresher training.
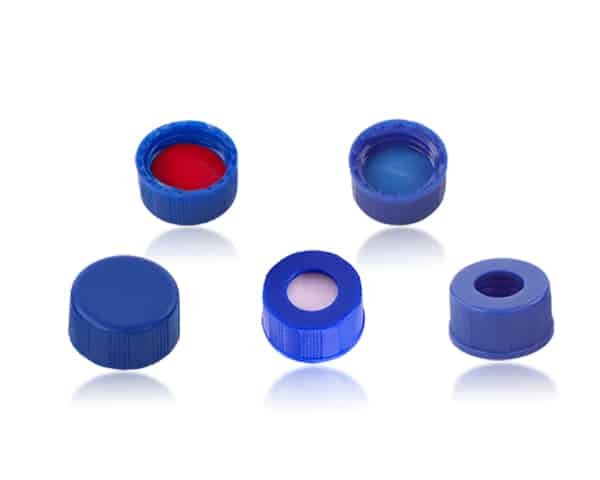
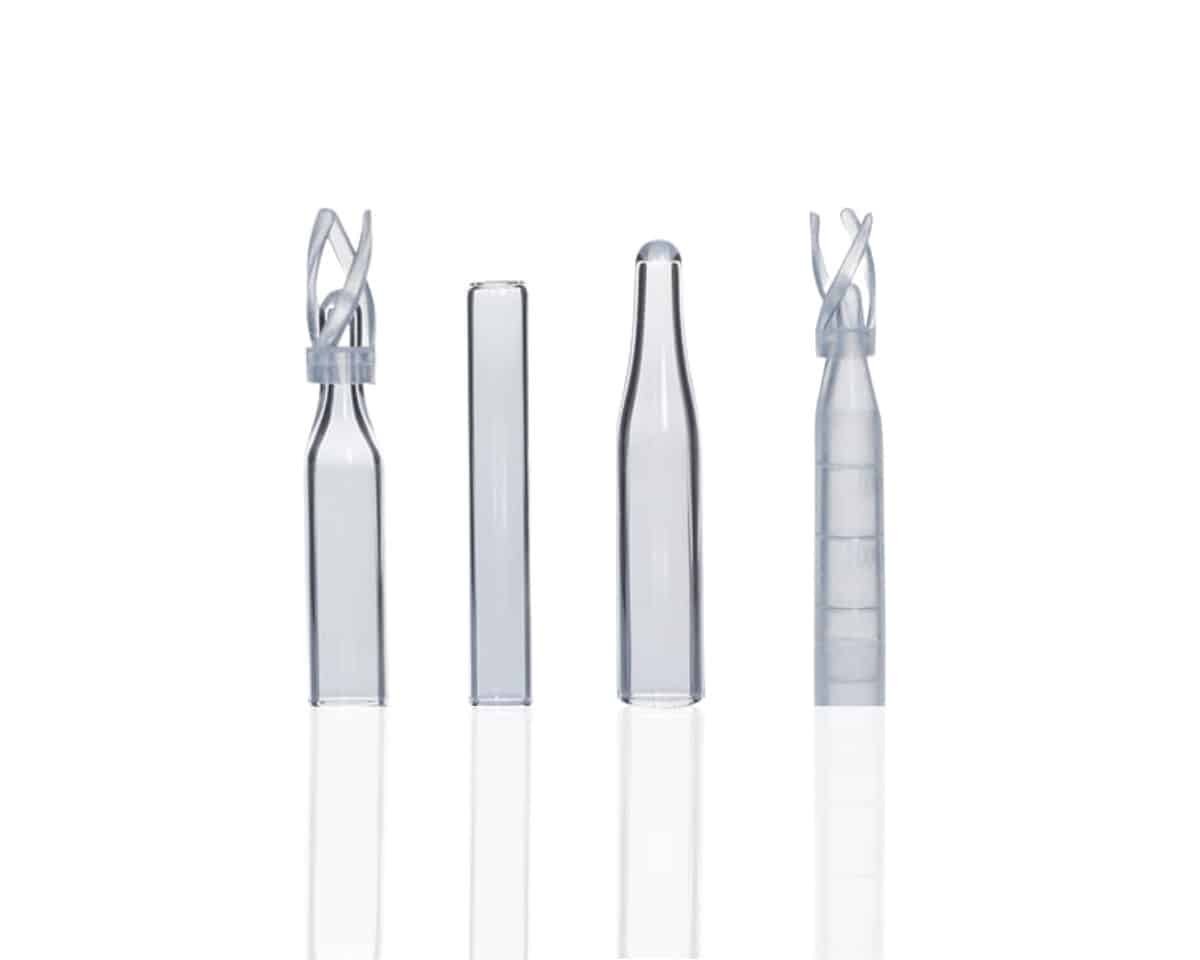
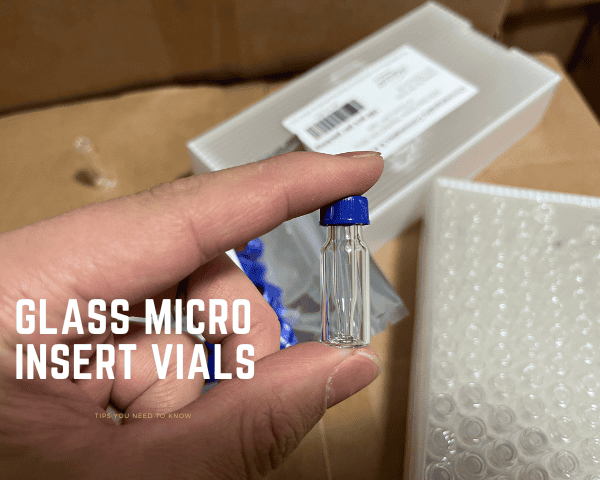
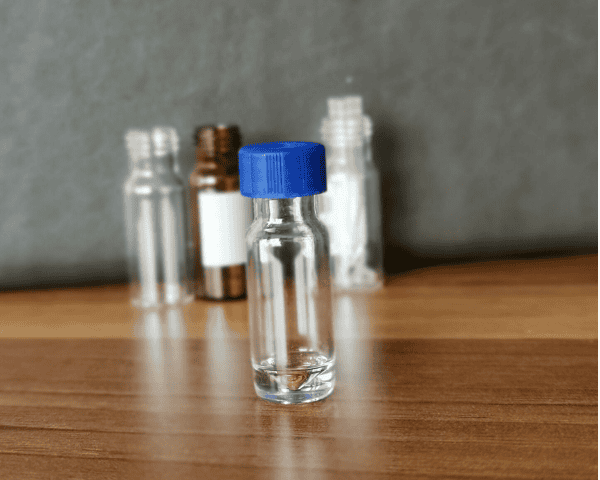
Use High-Quality Vials and Consumables
Low-quality consumables can contribute to contamination, even when your procedures are perfect. If you’re using cheap vials that aren’t certified for your method, you’re setting yourself up for trouble. Investing in quality consumables from reliable brands can make a world of difference. This is why many labs prefer certified, low-particle HPLC vials from reputable suppliers like Agilent and Waters (agilent.com, waters.com).
What to Do If You Suspect Contamination
So, you’ve found the culprit. What next?
Isolate the Affected Samples
Remove any questionable samples from your batch and label them clearly. You don’t want cross-contamination spreading further.
Re-Evaluate Your Protocols
Sit down with your team and review your current protocols. Where do gaps exist? Could small improvements make a big difference? For example, consider using filters for liquids or switching to pre-cleaned vials for critical tests.
Re-Test with Fresh Samples
Sometimes, the only answer is to start again. While it’s never fun to re-do experiments, it’s better than publishing results based on bad data. Trust me, a little extra work now will save you a lot of headaches down the road.
Conclusion
Contamination happens to all of us, no matter how experienced we are. But identifying the cause and taking preventive measures can save you from a lot of frustration. After all, a clean sample equals reliable results! What do you think? Does this resonate with your experience in the lab?
Fianlly, if you’re on the lookout for high-quality HPLC vials at sensible pricing, you won’t miss out Mastelf. With over 13 years of experience in chromatography vials, we can help you find the exact vials you need for your applications.
Our expertise ensures that you get reliable and precise products tailored to your specific requirements. Whether you’re in pharmaceuticals, research, or any other industry relying on HPLC, we understand your needs and are here to support you in making the right purchase.
Reach out to Mastelf, and let us assist you in procuring the perfect vials for your work.