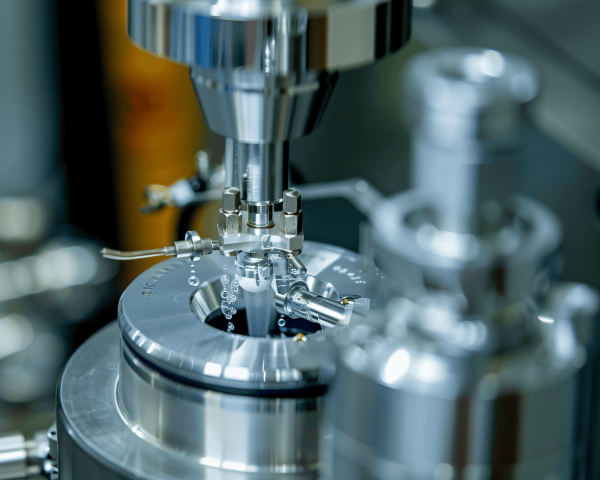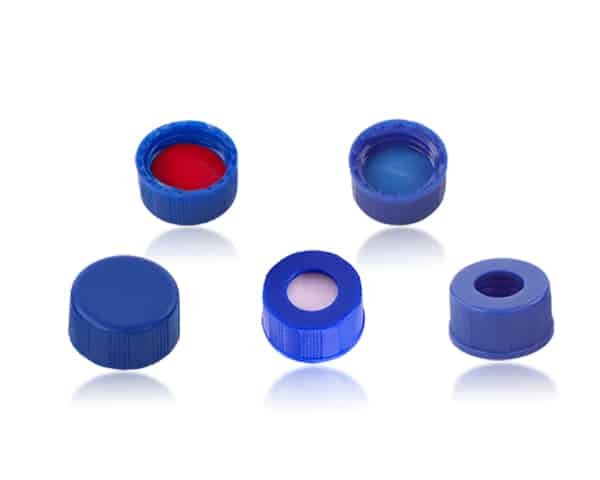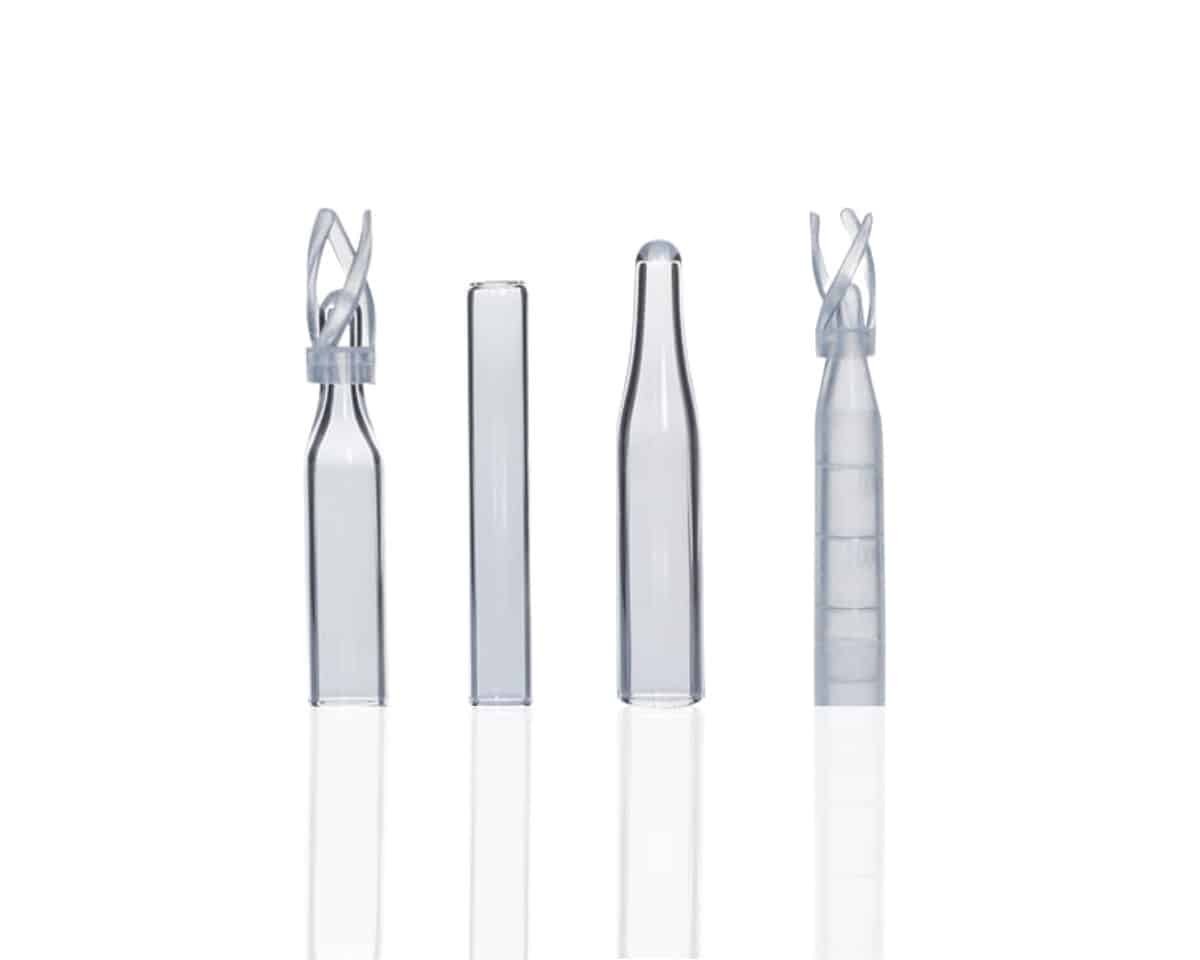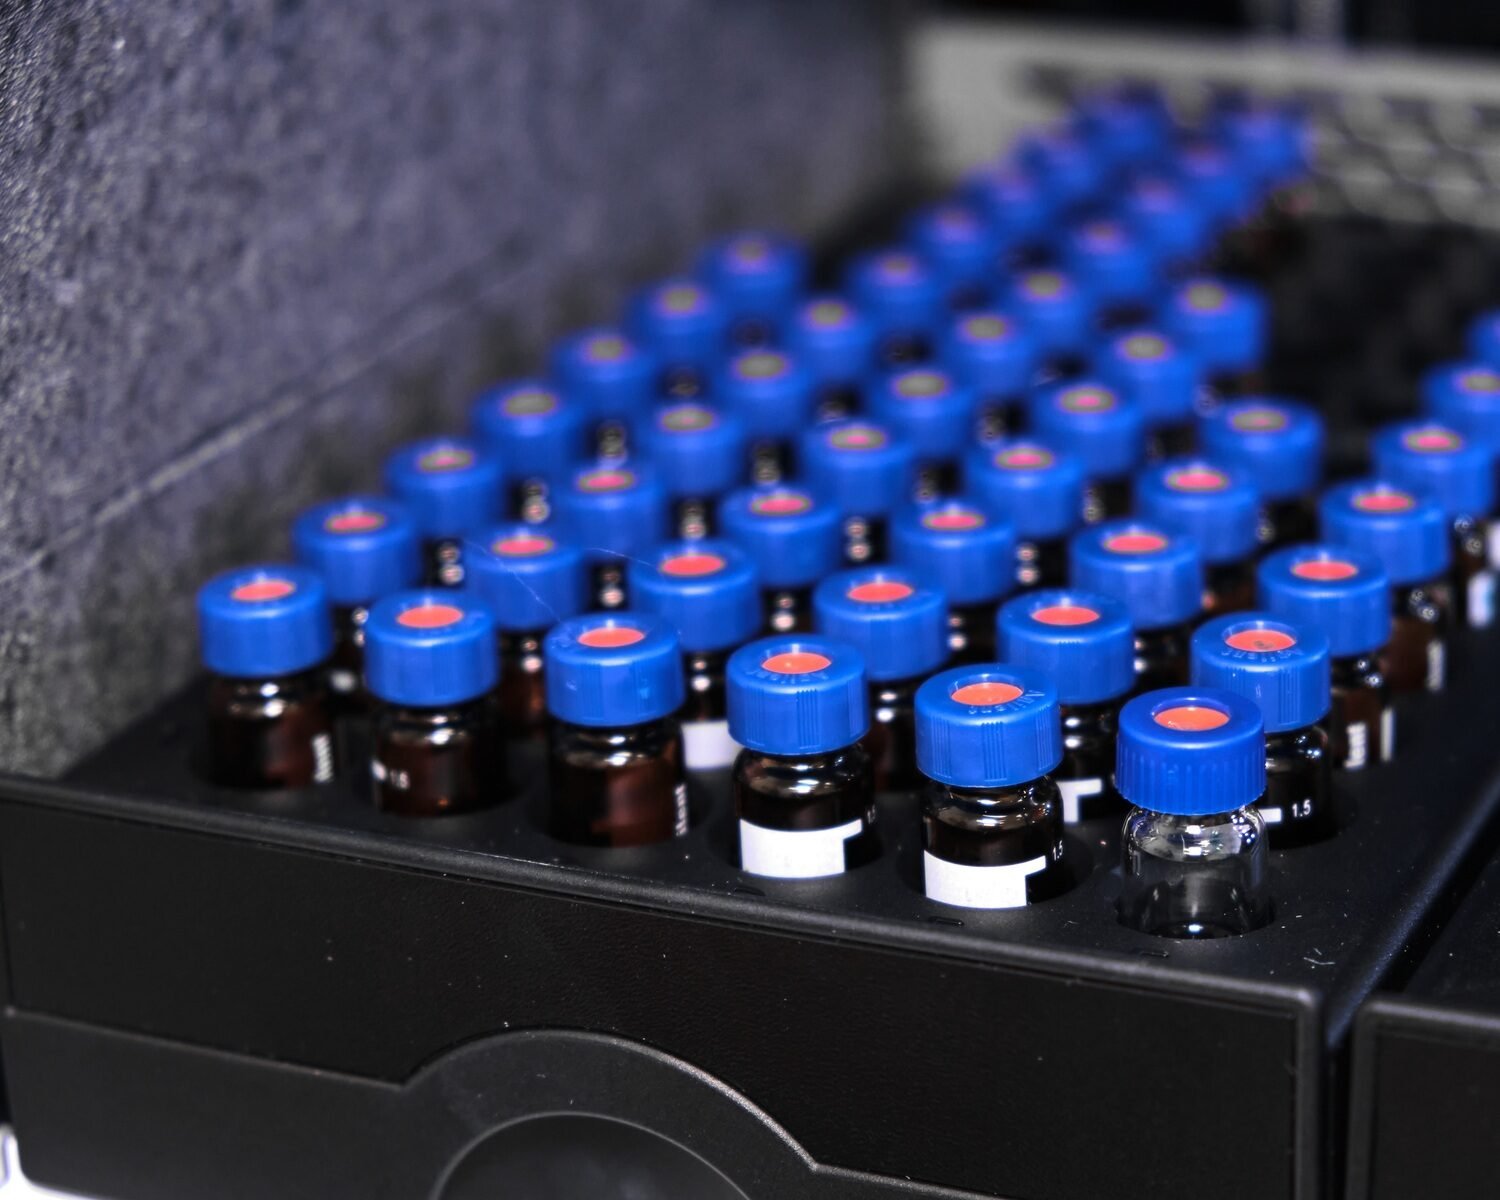

When it comes to maintaining the efficiency and accuracy of your High-Performance Liquid Chromatography (HPLC) instrument, understanding the washing process is crucial. This process ensures that your equipment remains free from contaminants, leading to more reliable results and a longer lifespan for your machine. In this article, we will walk you through the washing process of an HPLC instrument, providing tips and insights to make it as effective as possible.
Introduction
High-Performance Liquid Chromatography (HPLC) is a powerful tool used in various industries, including pharmaceuticals, biotechnology, and environmental testing. Keeping your HPLC instrument clean is essential for accurate and reproducible results. The washing process is a critical component of HPLC maintenance, and knowing how to do it correctly can save time and resources.
Why Is the Washing Process Important?
Contaminants in your HPLC system can lead to erroneous results, reduced sensitivity, and damage to the instrument. Proper washing removes these contaminants, ensuring that your HPLC operates at peak performance.
How to Wash an HPLC Instrument
Step 1: Preparing the System
Before starting the washing process, it’s important to prepare your system. Ensure that all samples have been run and that the instrument is idle. Here’s a step-by-step guide:
- Disconnect the Column: Start by disconnecting the analytical column from the system. This step is crucial because the column is sensitive to changes in solvent composition and flow rates.
- Flush the System: Flush the system with a solvent that is compatible with your samples and the mobile phase you use. Common solvents include water, methanol, and acetonitrile.
- Prepare Cleaning Solutions: Depending on the type of contamination, you may need different cleaning solutions. For organic contaminants, use a solvent like methanol. For salts and other inorganic contaminants, water or a diluted acid may be more effective.
Step 2: Washing the Pump
The pump is the heart of the HPLC system. Ensuring it is clean is paramount for maintaining consistent flow rates and pressure.
- Use a Cleaning Solvent: Run a cleaning solvent through the pump. Typically, a mixture of water and an organic solvent like methanol works well.
- Flush with Water: After the cleaning solvent, flush the pump with water to remove any residues.
- Check for Leaks: Ensure there are no leaks during this process as they can indicate worn seals or other issues.
Step 3: Cleaning the Injector
The injector can become contaminated with sample residues, which can lead to carryover and ghost peaks.
- Flush the Injector: Use the same cleaning solvent to flush the injector. Make sure to cycle through several injections to ensure thorough cleaning.
- Inspect for Blockages: Check for any blockages that could impede the injector’s function.
Step 4: Cleaning the Detector
Different types of detectors (UV, MS, RI) require specific cleaning protocols, but the general approach is similar.
- Flush with Solvent: Run a cleaning solvent through the detector. For UV detectors, methanol is commonly used. For mass spectrometers, use a solvent that is compatible with the detector’s requirements.
- Check for Residual Contaminants: After flushing, check for any residual contaminants that might affect the detector’s performance.
Step 5: Reassembling the System
Once all components have been thoroughly cleaned, reassemble the system and run a blank sample to ensure everything is functioning correctly.
Tips for Effective HPLC Washing
- Regular Maintenance: Implement a regular maintenance schedule to avoid buildup of contaminants.
- Use High-Purity Solvents: Always use high-purity solvents for both running samples and washing the system.
- Monitor System Performance: Keep an eye on system performance metrics such as pressure and baseline noise to detect potential issues early.
Conclusion
Maintaining the cleanliness of your HPLC instrument is crucial for obtaining reliable and accurate results. By following the steps outlined in this guide, you can ensure that your system remains free from contaminants and operates efficiently. Regular maintenance and proper cleaning protocols will extend the life of your HPLC instrument and help you achieve the best possible performance.
Remember, a well-maintained HPLC system not only produces better results but also saves time and resources in the long run. If you have any questions or need further assistance, feel free to reach out to our team of experts.


