When it comes to High-Performance Liquid Chromatography (HPLC), preparing your standards correctly is essential for ensuring accurate and reliable results. Whether you’re working in a pharmaceutical lab, a research institution, or a chemical plant, getting the preparation right can make all the difference between clear data and frustrating troubleshooting. Let’s dive into some easy-to-follow steps and practical advice to help you get your HPLC standards ready. After all, isn’t consistency and accuracy what we’re all aiming for?
Why Are HPLC Standards So Important?
Before we get into the “how,” let’s answer the “why.” Why are HPLC standards so critical to the whole process? In short, HPLC standards serve as the reference point for your entire analysis. They help ensure that the results you’re seeing on your chromatogram (that wavy line graph output) are accurate and reproducible. Imagine trying to bake a cake without ever tasting the ingredients first—how would you know if it’s coming out right?
Standards allow you to:
- Calibrate your system, so it’s tuned correctly.
- Validate your results, ensuring that peaks match the compounds they’re supposed to represent.
- Quantify your samples accurately, especially if you’re comparing results across multiple batches or days.
Don’t overlook this step! Accurate standards mean the difference between credible data and an afternoon of frustration. What do you think—are standards as essential in your workflow?

Choose the Right Type of Standard
Not all standards are created equal, and that’s not just a figure of speech. Depending on what you’re analyzing, you’ll need different types of standards. Here’s a quick breakdown:
- Calibration Standards: These are the most common. They allow you to set a baseline for your chromatogram and quantify your results.
- System Suitability Standards: These check if your system is functioning correctly before running actual samples.
- Internal Standards: Added directly to the sample, these help correct for any variations in sample preparation or injection volumes.
In practice, your choice of standard can make or break your analysis. For example, if you’re working with pharmaceuticals, calibration standards will be your go-to for precise measurements. But for long-term projects where you’re running the same analysis over and over, system suitability standards help ensure your equipment is in tip-top shape.
How to Properly Store and Handle HPLC Standards
Now that you’ve got the right standard, how do you ensure it doesn’t degrade or get contaminated? Let’s talk storage and handling.
- Storage Conditions: Most standards are sensitive to temperature, light, and even air. Make sure you store them in cool, dark places, and always seal them tightly. For some standards, refrigeration may be necessary.
- Avoiding Contamination: Always use clean pipettes and containers to handle your standards. Even the smallest contamination could throw off your entire analysis.
- Expiration Dates: Never ignore these! Expired standards may degrade and result in inaccurate data.
If you’re unsure about how to store your specific standards, always consult the manufacturer’s guidelines or reach out to your supplier. After all, no one wants to run an analysis only to realize they were working with degraded material.
How to Prepare Your HPLC Standards: Step-by-Step Guide
Precision is key when preparing your standards, but don’t worry—it’s easier than it sounds! Here’s a step-by-step guide to get it right.
Step 1: Weighing and Diluting
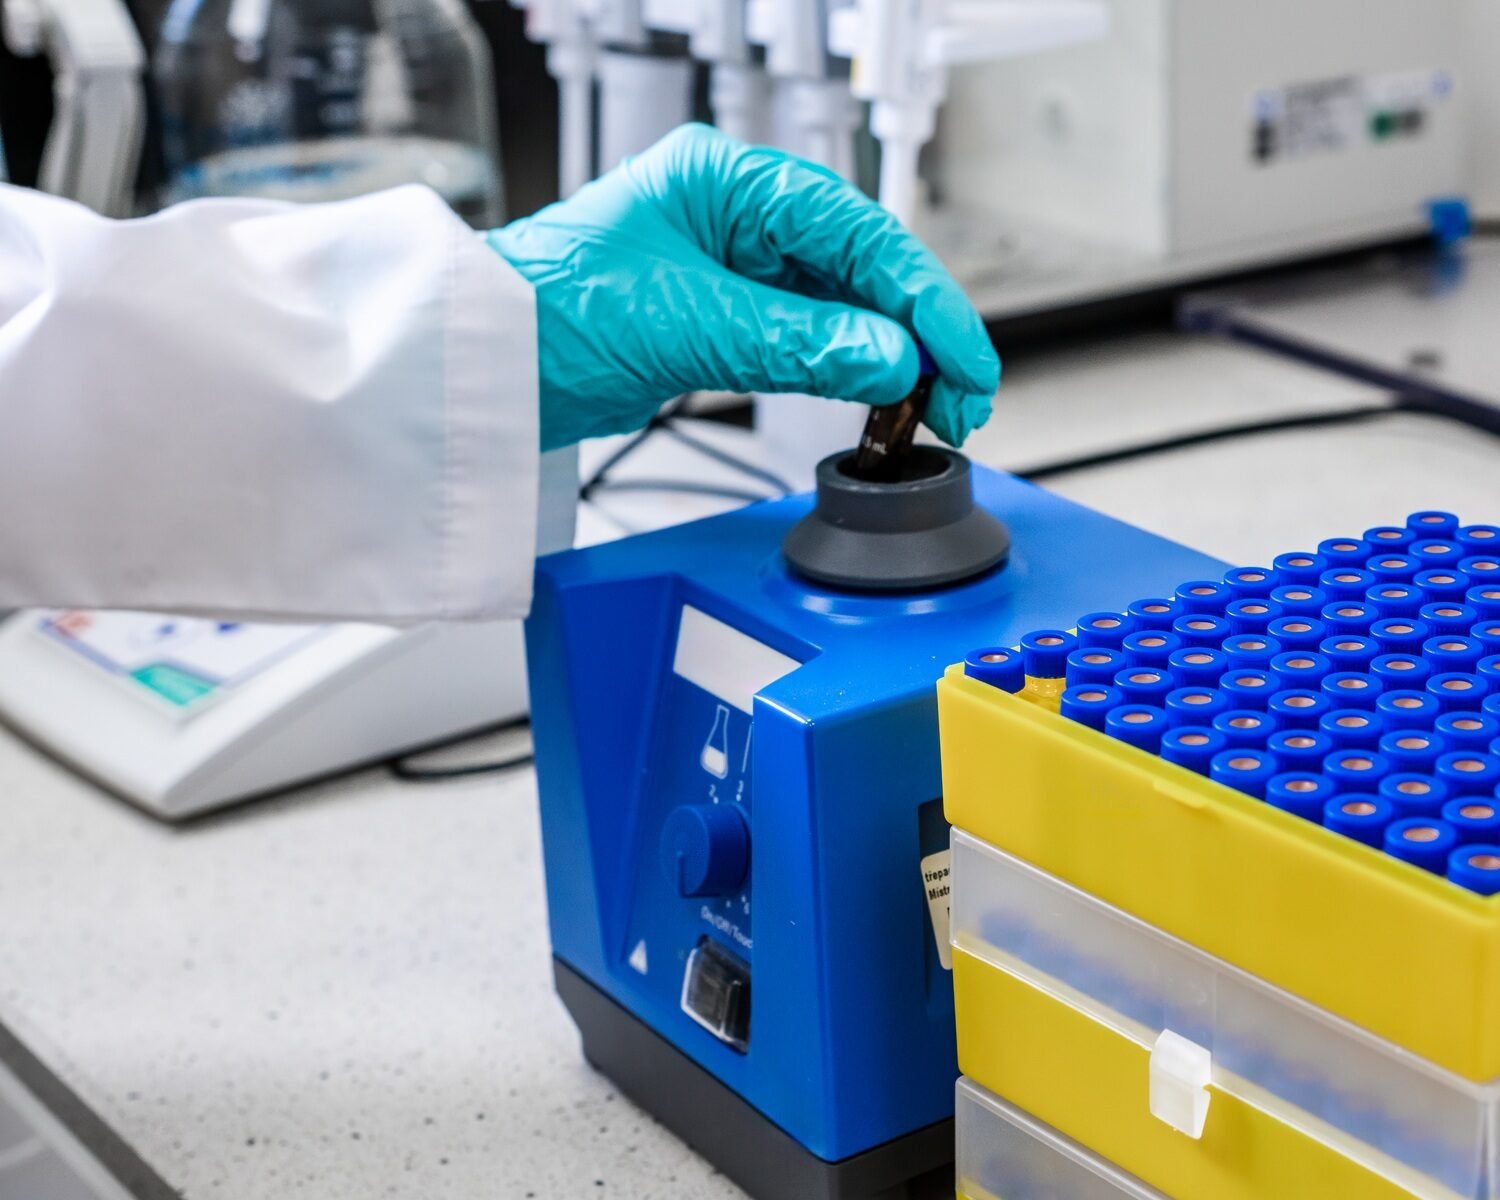
Using a calibrated balance, accurately weigh out the appropriate amount of the standard material. Then, dilute it in a solvent compatible with your system. This is often something like methanol, acetonitrile, or water (depending on your analysis method).
Step 2: Use Volumetric Flasks for Precision
Precision is key, and volumetric flasks are your best friend here. These flasks ensure that your dilutions are as accurate as possible, reducing the likelihood of errors down the line.
Step 3: Avoid Air Bubbles
While diluting and mixing your standard, ensure that no air bubbles get trapped in the solution. Bubbles can introduce inconsistency, especially when it comes to injection into the HPLC system.
This might sound basic, but it’s these small steps that really count. Do you agree that the smallest details can often lead to the biggest mistakes?

Building Your Calibration Curve
A calibration curve is essential if you want to quantify unknowns. It’s like creating a roadmap for your analysis, helping you know where you’re going and where you’ve been.
- Prepare Multiple Concentrations: Start by preparing a series of standards at different concentrations (for example, 10 ppm, 20 ppm, 50 ppm).
- Inject Systematically: Inject each concentration into your HPLC system under identical conditions. This consistency ensures that your calibration curve is accurate.
- Plot the Curve: Using the peak areas from your injections, plot them against the known concentrations to generate a linear calibration curve.
System Suitability Testing (SST)
Before running your samples, you need to ensure that your system is working as expected. This is where system suitability testing (SST) comes in.
- Run Multiple Injections: Inject a standard multiple times to check for repeatability.
- Check Retention Times: Make sure retention times remain consistent across injections. Fluctuations can indicate system instability.
- Examine Peak Symmetry: Evaluate the symmetry and resolution of peaks. Symmetrical peaks are essential for accurate quantification, and poor resolution can lead to errors when analyzing compounds that elute closely together.
Regular Recalibration is Key
Recalibration isn’t just a “set it and forget it” task. You’ll need to recalibrate your system regularly to maintain accuracy. This is especially true if you’re running frequent or long-term analyses, where system performance can degrade over time.
- Fresh Standards: Always prepare new calibration standards when recalibrating. Old standards can degrade, leading to inaccuracies.
- Update Calibration Curves: Ensure your calibration curves are always up-to-date, reflecting any changes in the system, such as column age or solvent lot.
Final Thoughts: Keep Your Process Consistent
At the end of the day, preparing HPLC standards isn’t rocket science—but it does require attention to detail. The key to success lies in consistency and accuracy, from the moment you weigh your standard to the final system suitability test before running your samples.
Have you found any particular tips or tricks that work best for you when preparing your standards? I’d love to hear your thoughts on what’s made your process more efficient. What do you think about recalibrating regularly—necessary or not?
Additional Resources
By following these steps and incorporating proper preparation techniques, you’ll be well on your way to achieving accurate and reproducible HPLC results every time.

