Introduction
One of the most overlooked aspects of HPLC (High-Performance Liquid Chromatography) is ensuring compatibility between vials and autosamplers. It may seem like a small detail, but using incompatible vials can lead to injection errors, sample loss, and reduced accuracy in your analysis.
Whether you’re dealing with manual injection systems or advanced robotic autosamplers, choosing the right vial is crucial for maintaining data integrity and optimizing laboratory efficiency.
Think about it—how often have you faced issues with misaligned needles, leaking caps, or insufficient sample uptake? More often than not, the problem traces back to vial and autosampler compatibility. In this guide, we’ll explore why this compatibility matters, what factors to consider when selecting vials, how to test compatibility before large-scale use, and how to troubleshoot common issues. Let’s dive into the practical aspects of vial selection and autosampler performance to make your HPLC workflows seamless and reliable.
Why Compatibility Matters: Impact on Accuracy and Reliability
Ensuring compatibility between HPLC vials and autosamplers is crucial for several reasons. Incompatible vials can cause a range of problems that directly affect your analysis accuracy and data quality. Here’s why it matters:
1. Injection Errors
If the vial is not compatible with the autosampler, it can cause needle misalignment, leading to partial or missed injections. Imagine running a critical sample only to find that your injection volume was far less than expected. This not only wastes precious samples but also leads to inconsistent results.
2. Sample Loss and Waste
Incompatible vials can cause leaks or sample evaporation during injection, especially if the cap seal doesn’t fit properly. This not only compromises the analysis but also leads to waste of valuable samples.
3. Reduced Data Accuracy
When vial dimensions do not match the autosampler’s specifications, it can lead to air bubbles or insufficient sample withdrawal. This directly affects peak shape and quantitative accuracy, especially in trace-level analysis.
4. Risk of Autosampler Damage
Poor vial fit can cause the needle to hit the vial wall or cap, leading to needle bending or breakage. Replacing an autosampler needle is not only costly but also time-consuming, causing significant downtime in high-throughput labs.
Have you ever faced issues with vial compatibility in your lab? What kind of problems did it cause?
Factors to Consider When Choosing Vials for Autosamplers
To ensure compatibility and optimize HPLC performance, it’s important to carefully select vials based on specific factors. Here are the key aspects to consider:
1. Vial Size and Dimension
- Standard 12 x 32 mm vials (2 mL volume) are the most commonly used in autosamplers.
- Always check the height and diameter of the vial to ensure it matches your autosampler’s tray and needle depth.
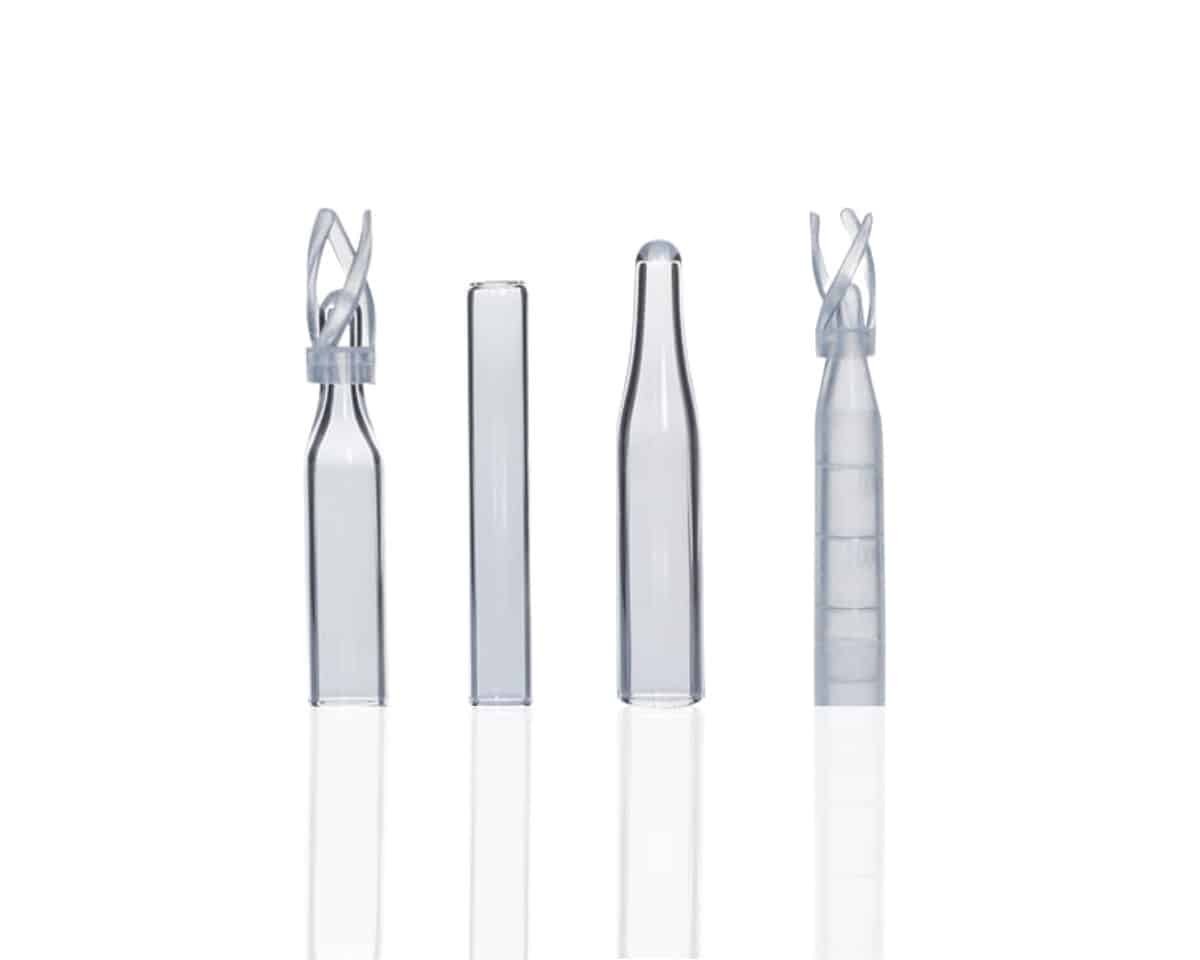
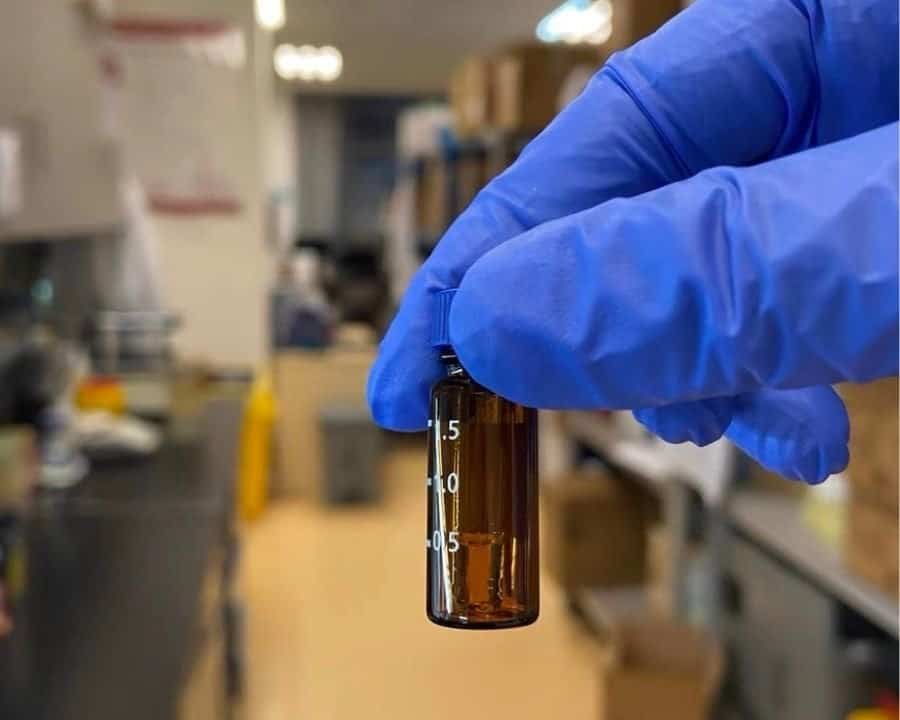
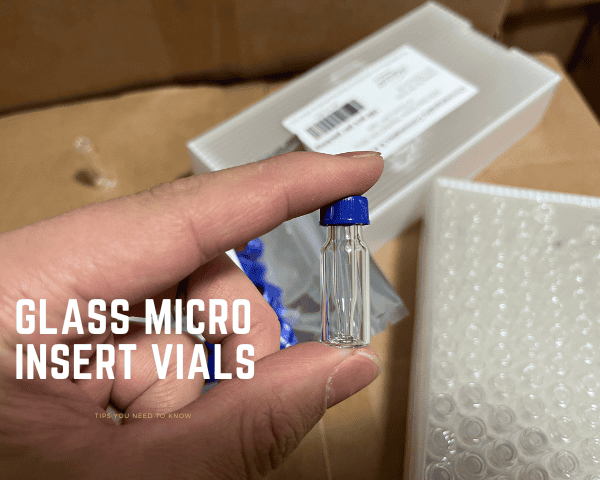
- For small sample volumes, use low-volume inserts to reduce dead space.
2. Vial Neck and Opening Diameter
- Narrow-neck vials help reduce evaporation but can be more challenging for manual pipetting.
- Wide-neck vials are easier to handle but may result in higher evaporation rates.
- Make sure the cap diameter matches the autosampler needle size to prevent needle damage.
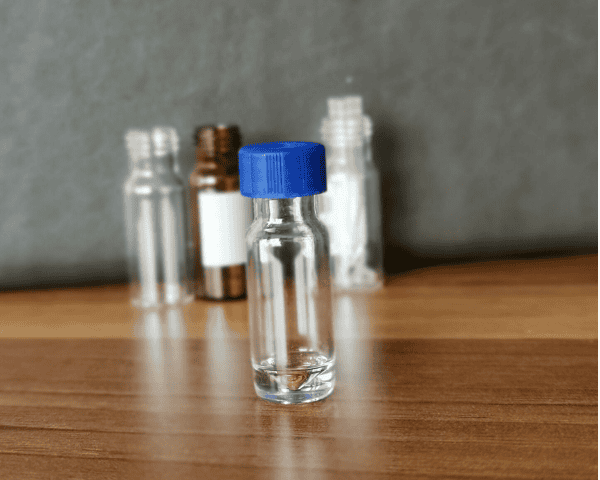
3. Vial Material: Glass vs. Plastic
- Glass vials are highly resistant to solvents and ideal for organic compounds.
- Plastic vials (like polypropylene) are lightweight and shatter-resistant, suitable for aqueous samples.
- Consider the chemical compatibility of your solvent with the vial material to prevent degradation.
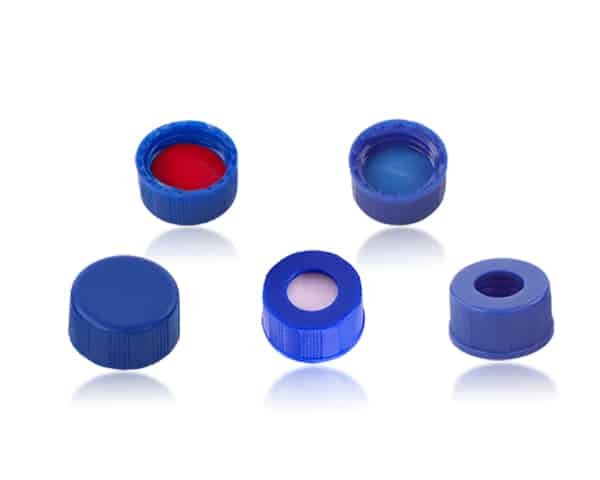
4. Cap and Seal Type
- Crimp caps offer the most secure seal, minimizing leakage and evaporation.
- Screw caps are convenient for manual handling but can become loose during automated sampling.
- PTFE/silicone septa are widely used for chemical resistance and durability.
- Choose a cap that maintains a tight seal to avoid contamination or sample loss.
5. Autosampler Compatibility
- Consult the manufacturer’s specifications to verify which vial types and sizes are compatible with your model.
- Some autosamplers require magnetic caps or special crimp designs.
Do you double-check vial specifications before ordering? What factors do you prioritize when selecting vials?

How to Test Compatibility Before Large-Scale Use
Before committing to large-scale vial usage, it’s crucial to test compatibility to ensure smooth operation. Here’s a step-by-step approach:
1. Run Blank Samples First
- Use empty vials with only the solvent to check for leaks, misalignments, or needle issues.
- Observe how the autosampler positions and injects from the vials to detect misalignment early on.
2. Perform a Comparative Test
- Use different vial types to compare injection precision and repeatability.
- Measure the injection volume consistency to detect any significant variation.
3. Monitor Needle Movement
- Observe the needle as it moves into the vial to check for misalignment or obstruction.
- Ensure that the needle penetrates the septum properly without excessive force.
4. Check for Residual Volume
- After the injection, inspect the vial to determine how much sample remains.
- Incomplete withdrawal indicates potential compatibility issues or needle misalignment.
5. Review Chromatographic Results
- Look for peak shape anomalies, such as tailing or splitting, that could indicate sample evaporation or inconsistent injection.
Common Issues and How to Fix Them
Even with careful selection, issues may arise. Here’s how to troubleshoot common problems:
1. Vial Sticking or Jamming
- Cause: Vials not matching the tray size.
- Solution: Use standard-size vials or trays designed for wider vials.
2. Insufficient Sample Uptake
- Cause: Vial too short or needle depth not set properly.
- Solution: Adjust the needle depth or use vials with low-volume inserts.
3. Needle Damage
- Cause: The needle hits the vial bottom or cap.
- Solution: Adjust the needle alignment and switch to spring-loaded vial inserts if needed.
4. Inconsistent Injection Volume
- Cause: Vial sealing issues or needle blockage.
- Solution: Replace degraded septa and clean the needle port.
Practical Tips for Optimizing Autosampler Performance
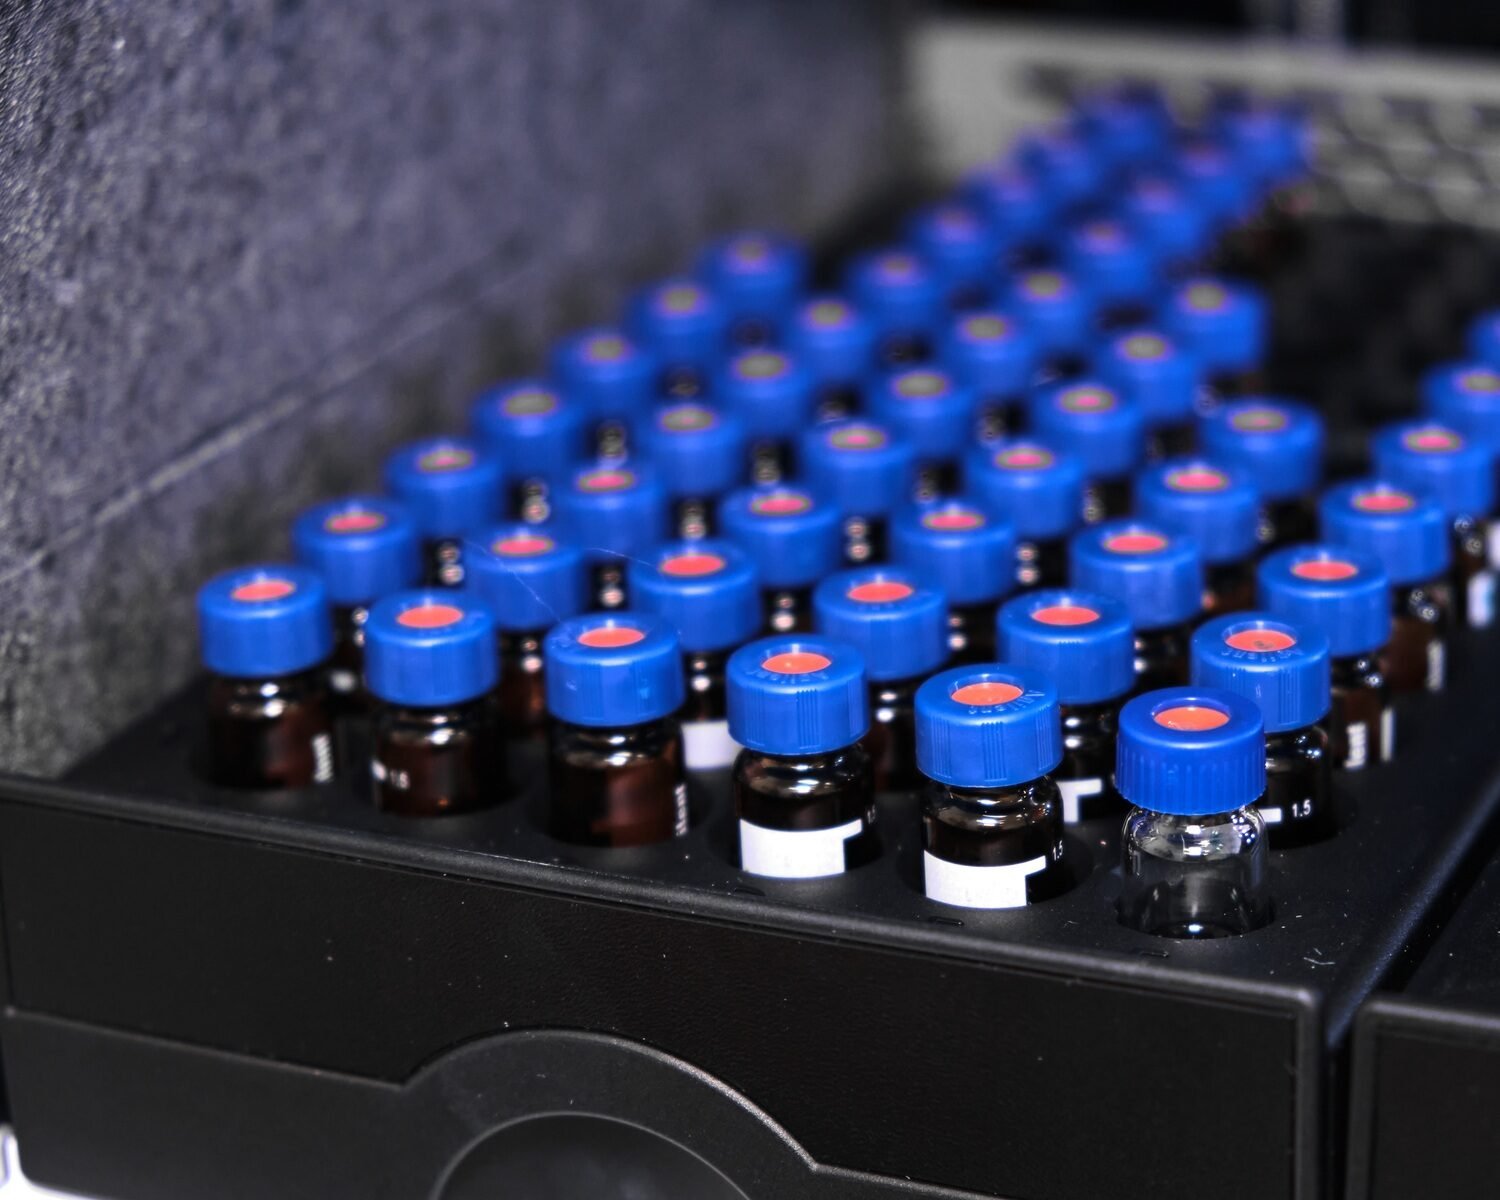
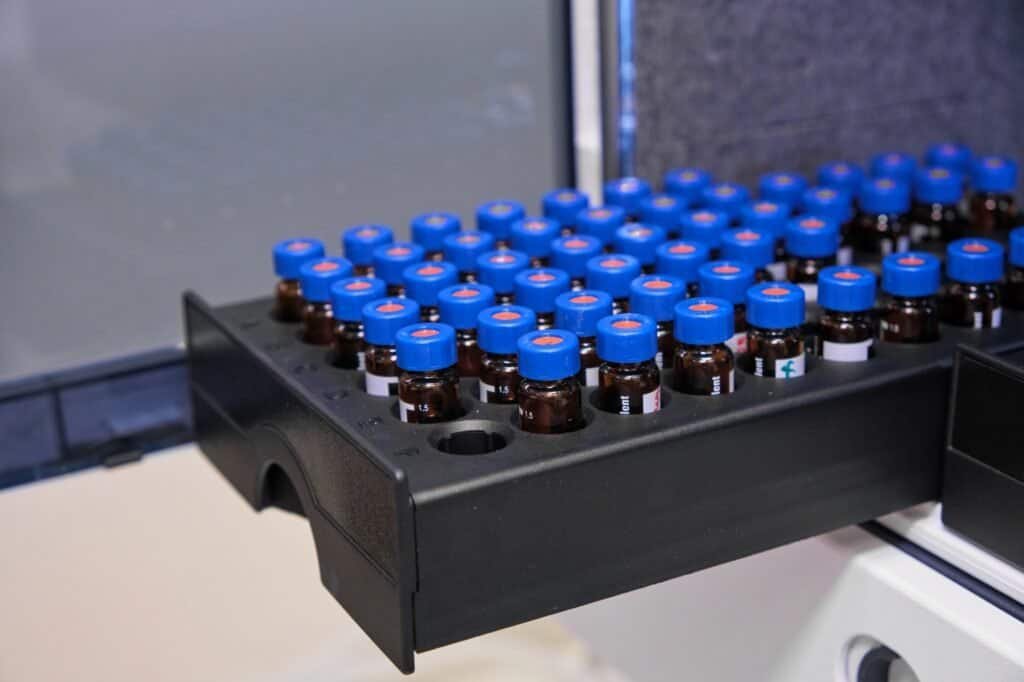
- Use Vial Racks with Precise Spacing
- Prevents vial tilting or misalignment during automated handling.
- Regularly Inspect the Autosampler Needle
- Check for bending, residue, or wear, and clean it regularly.
- Optimize Cap and Septa Quality
- Invest in high-quality caps with chemically resistant septa to prevent contamination.
- Routine Maintenance Checks
- Regularly test the autosampler with blank runs to identify potential issues.
- Maintain a Log of Vial Performance
- Track any injection errors or damaged vials to identify recurring problems.
Conclusion
Ensuring vial and autosampler compatibility is essential for maintaining accurate, reliable HPLC results. By selecting the right vials, caps, and septa, and conducting compatibility testing before large-scale use, you can avoid common pitfalls like needle damage, sample loss, and injection inconsistencies. Implementing best practices and regular maintenance will enhance autosampler performance and help your lab operate more efficiently.
Mastelf, with over 13 years of experience in chromatography vials since established in 2011, we can help you find the exact vials you need for your applications.
Our expertise ensures that you get reliable and precise products tailored to your specific requirements. Whether you’re in pharmaceuticals, research, or any other industry relying on HPLC, we understand your needs and are here to support you in making the right purchase.
Reach out to Mastelf, and let us assist you in procuring the perfect vials for your work.
FAQ
- What vial size is best for automated HPLC systems?
- Standard 2 mL (12 x 32 mm) vials are most compatible with autosamplers.
- Can I use plastic vials for organic solvents?
- It’s better to use glass vials, as plastic can degrade with certain solvents.
- How do I fix leaking vial caps?
- Use crimp caps with PTFE/silicone septa for a tighter seal.
- What should I do if the needle gets bent?
- Replace the needle immediately and inspect the vial setup to prevent recurrence.
- How often should I check vial compatibility?
- Perform compatibility checks whenever changing vial types or autosampler settings.