Introduction: How Carryover Affects Data Accuracy
Have you ever noticed an unexpected peak in your blank sample right after analyzing a high-concentration standard? If so, you’ve encountered carryover, one of the most common yet frustrating issues in High-Performance Liquid Chromatography (HPLC).
Carryover occurs when residual sample from a previous injection contaminates the next run, leading to inaccurate results, false positives, and poor reproducibility. In industries like pharmaceuticals, food testing, and environmental analysis, even minor carryover can compromise data integrity and regulatory compliance.
But here’s the good news—carryover is preventable! By implementing best practices in autosampler cleaning, vial selection, solvent management, and system maintenance, you can ensure cleaner, more reliable HPLC runs. In this article, we’ll explore the causes of carryover, effective prevention strategies, and a real-world case study where a pharma lab successfully eliminated carryover issues.
Let’s dive in!
1. What is Carryover and Why Does It Happen?
Carryover in HPLC refers to the unintentional presence of residual analyte from a previous injection in a subsequent sample, leading to contamination and inaccurate results. It typically manifests as:
✔ Unexpected peaks in blank injections.
✔ Higher-than-expected analyte concentrations in low-level samples.
✔ Inconsistent quantitation, especially in trace-level analysis.
Common Causes of Carryover
- Insufficient Autosampler Needle Wash
- Residual sample adheres to the needle and contaminates the next injection.
- Poor Choice of Rinse Solvents
- Some analytes are not fully soluble in the wash solvent used, leading to retention on the needle or injection port.
- Contaminated Vials and Caps
- Leachables from vial caps or improperly cleaned vials introduce unwanted compounds.
- Improper Column and System Cleaning
- Sample residues accumulate in the column, tubing, and injection valve, causing carryover over multiple runs.
Ever faced a situation where your calibration curve looked perfect, but your blanks showed contamination? That’s carryover at work—and it’s time to eliminate it!
2. Autosampler Cleaning and Injection Techniques
Your autosampler plays a major role in preventing carryover. If it isn’t properly cleaned or maintained, residual sample can easily contaminate future injections.
2.1 Needle Washing Strategies
To effectively remove sample residues, autosamplers typically use pre- and post-injection needle washes. Here’s how to optimize them:
✔ Use Dual-Solvent Washes: A combination of strong organic solvents (e.g., acetonitrile, methanol) and aqueous solutions effectively dissolves both polar and non-polar contaminants.
✔ Increase Wash Volume: For sticky or high-concentration analytes, use larger wash volumes (e.g., 500–1000 µL instead of 100 µL).
✔ Use Multiple Wash Cycles: Performing two or more rinse cycles ensures better needle cleaning.
2.2 Optimizing Injection Techniques
✔ Use Partial Loop or Total Loop Injection: Avoid overfilling sample loops, as excess sample can cause contamination.
✔ Reduce Injection Volume: Smaller injection volumes reduce residual sample exposure inside the system.
✔ Use a Stronger Rinse Solution: If carryover persists, try a stronger solvent to wash the loop and needle after injection.
Proper needle washing and injection techniques alone can significantly reduce carryover—but there’s more you can do!
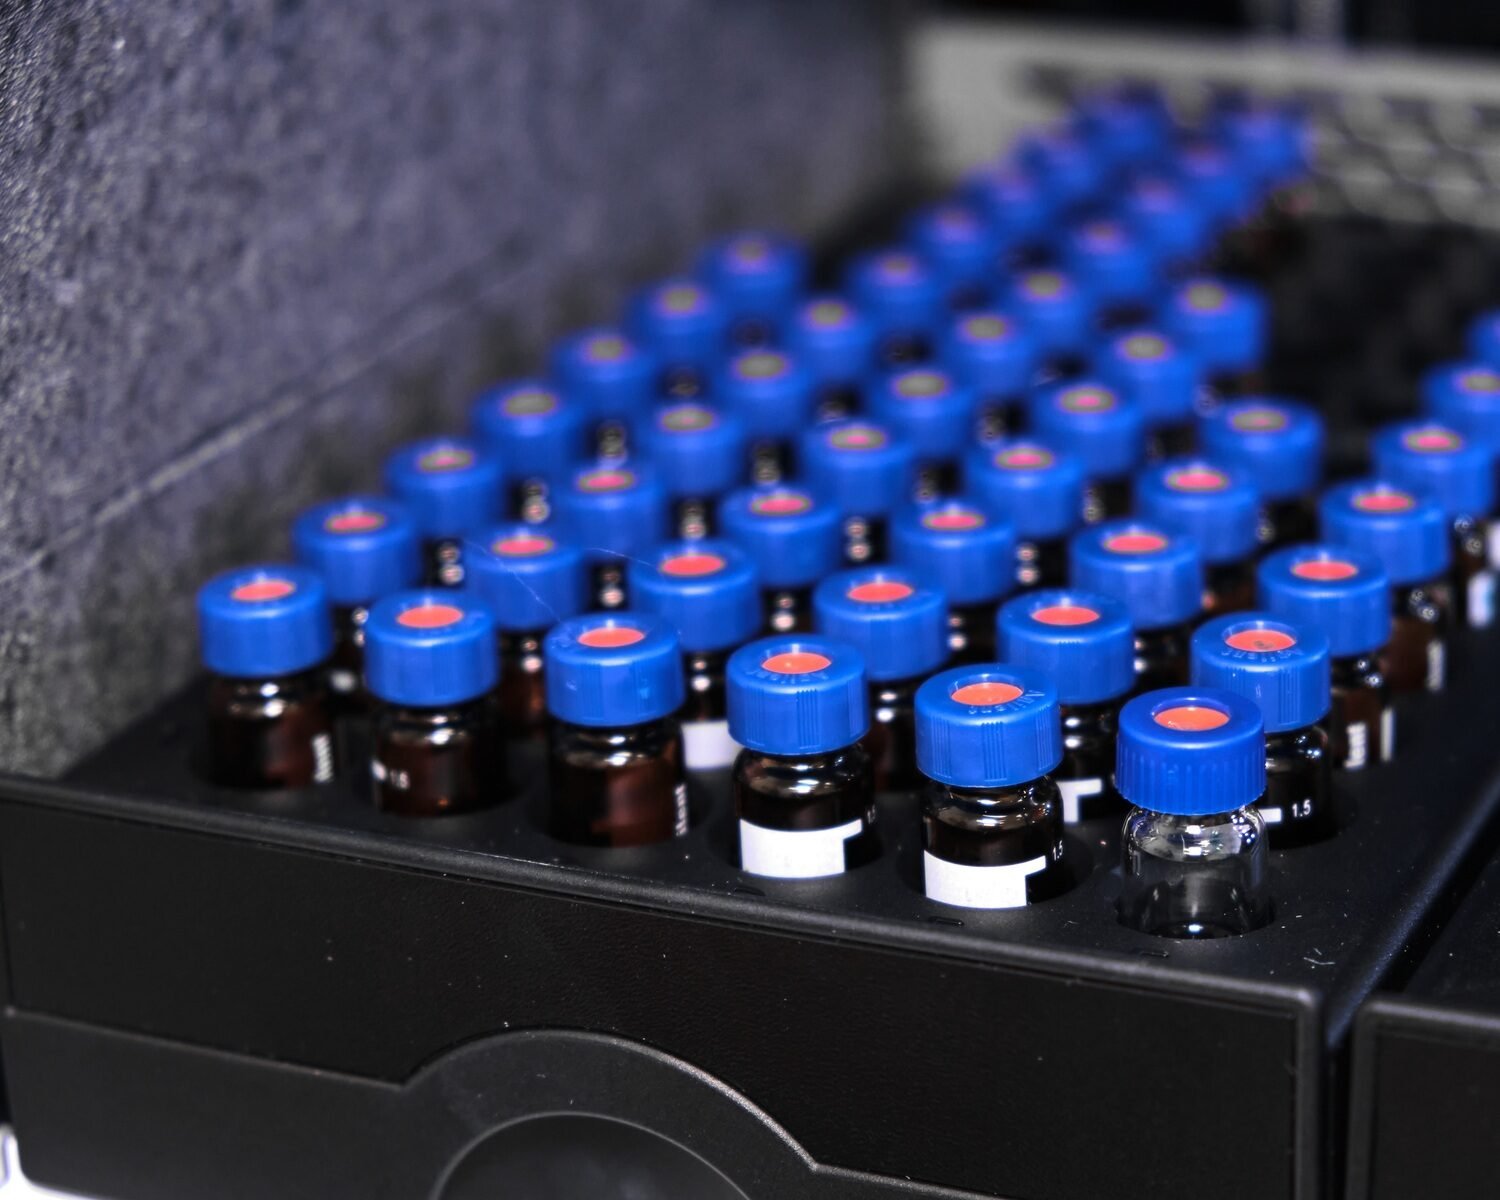
3. Selecting the Right Vials and Caps to Minimize Contamination
Vials and caps may seem like minor components, but they directly impact carryover due to leachables, adsorption effects, and contamination risks.
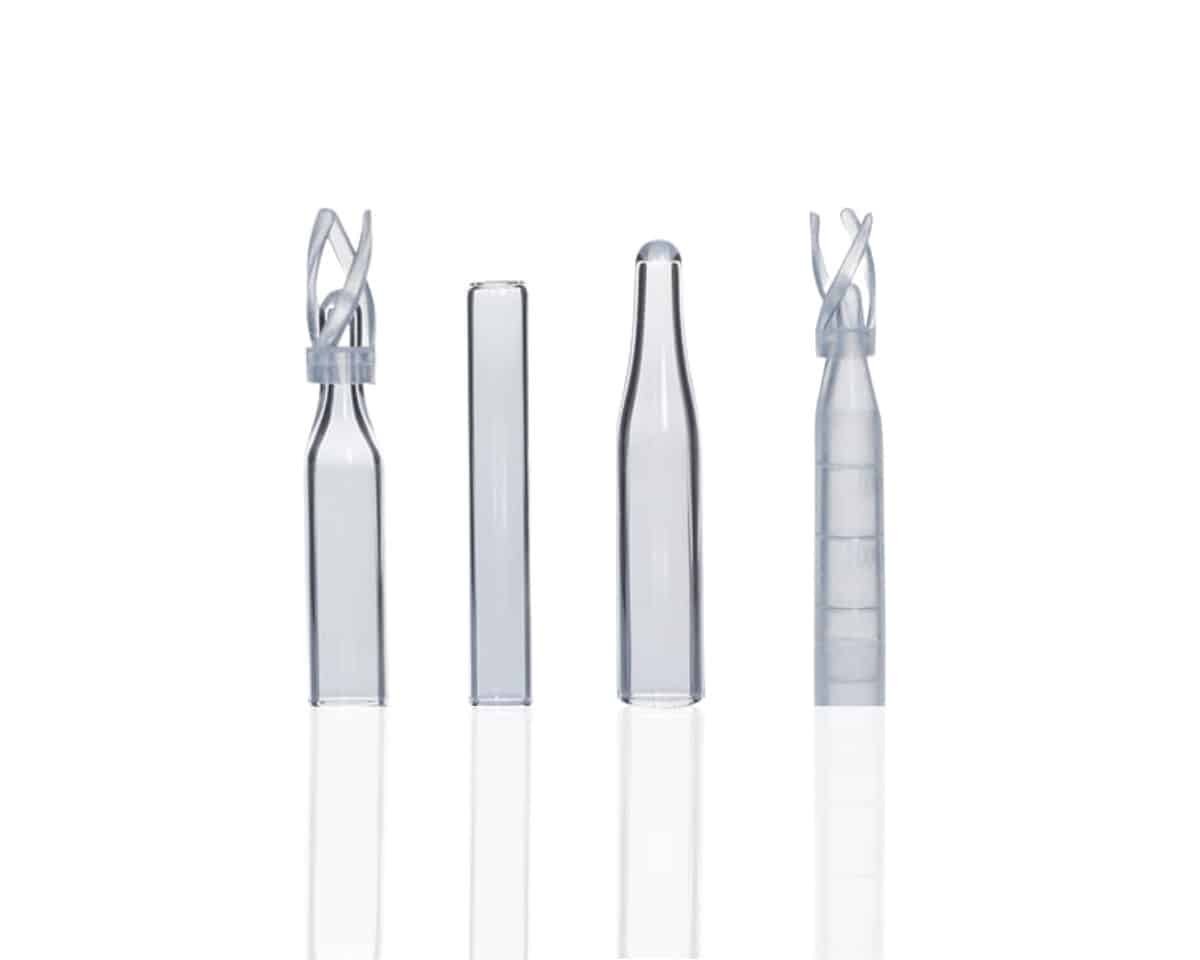
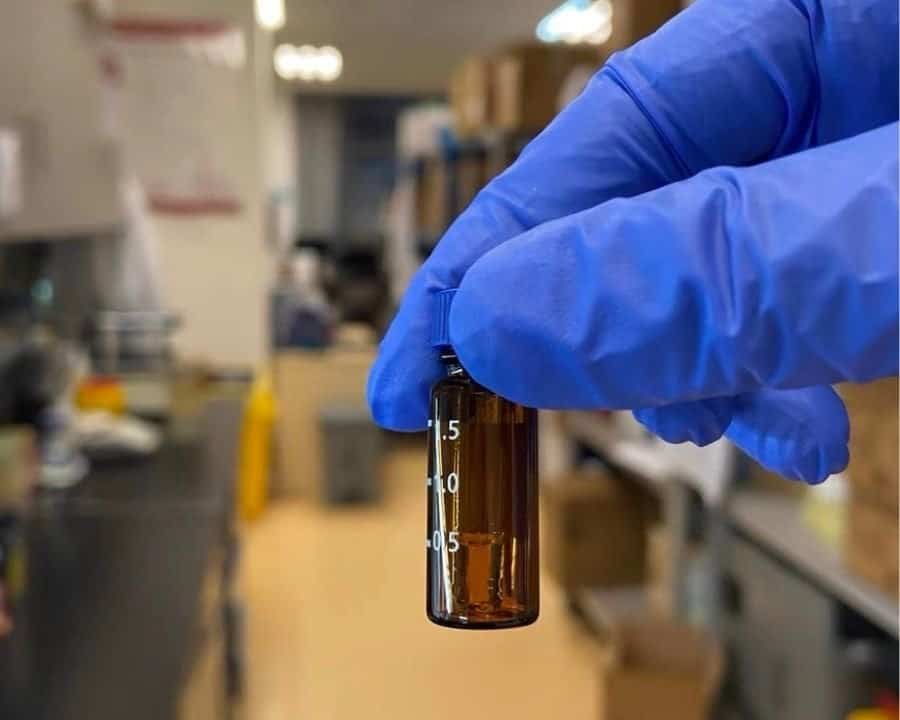
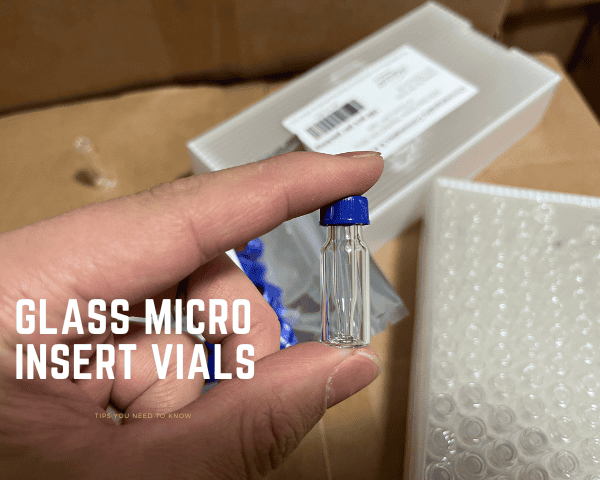
3.1 Choosing High-Quality Vials
✔ Glass vs. Plastic:
- Use glass vials for organic solvents (plastic vials may leach unwanted compounds).
- Polypropylene vials are better for highly adsorptive compounds (e.g., proteins, peptides).
✔ Deactivated (Silanized) Vials: Prevents analyte adsorption to glass, reducing carryover for basic and polar compounds.
✔ Pre-washed Vials: If not using pre-washed vials, always rinse them with methanol or acetonitrile before use.
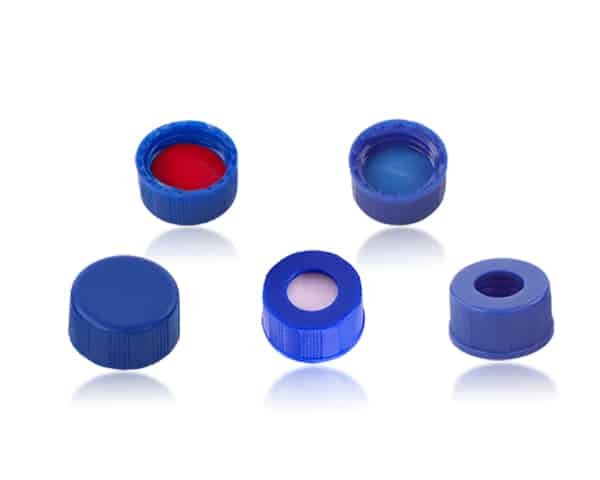
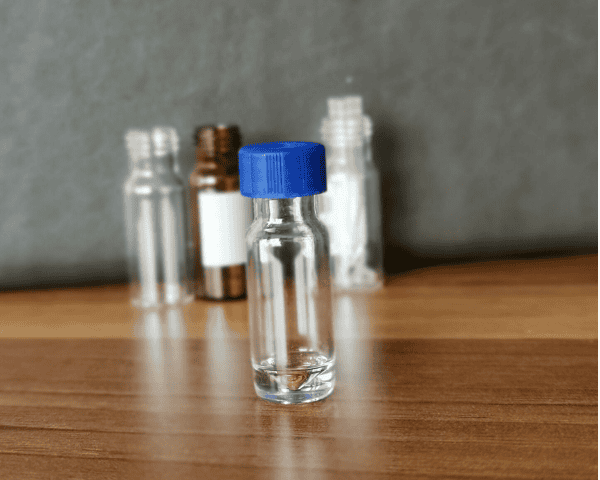
3.2 Proper Cap and Septa Selection
✔ PTFE/Silicone Septa: Low-adsorption material that minimizes contamination risks.
✔ Avoid Excessive Punctures: Repeated needle punctures can cause septum degradation, leading to carryover.
✔ Ensure Proper Seal: Loose caps allow evaporation and contamination from ambient air.
Have you ever switched vials and suddenly noticed cleaner blanks? That’s because the right vials and caps can significantly reduce carryover!
Mastelf, with over 13 years of experience in chromatography vials, we can help you find the exact vials you need for your applications.
Our expertise ensures that you get reliable and precise products tailored to your specific requirements. Whether you’re in pharmaceuticals, research, or any other industry relying on HPLC, we understand your needs and are here to support you in making the right purchase.
Reach out to Mastelf, and let us assist you in procuring the perfect vials for your work.
4. Proper Solvent and System Cleaning Protocols
Even with the best autosampler and vials, carryover can still occur if your HPLC system isn’t cleaned regularly. Here’s how to maintain a contamination-free system.
4.1 Using the Right Cleaning Solvents
✔ Reverse-phase HPLC: Use water, methanol, acetonitrile, and isopropanol in alternating cycles.
✔ Ion-exchange or HILIC HPLC: Use buffered aqueous solutions and organic solvents to remove ionic residues.
✔ For Highly Stubborn Contaminants: Try 0.1% formic acid, 0.1% trifluoroacetic acid (TFA), or 5% ammonium hydroxide.
4.2 System Flushing Techniques
✔ Flush the Column: After every batch, run a high-flow flush with strong solvents to prevent accumulation.
✔ Purge the Injection System: Many HPLC systems allow manual purging—use this feature to clean the injector and flow path.
✔ Clean the Degasser and Tubing: If your system has an in-line degasser, make sure it’s free from contamination.
4.3 Routine Maintenance Schedule
✔ Daily: Flush the system after each run.
✔ Weekly: Clean the autosampler and check for residue buildup.
✔ Monthly: Perform deep cleaning of the injection valve and tubing.
✔ Every 6 Months: Replace worn-out seals, frits, and filters to prevent sample carryover.
Have you noticed retention time shifts or persistent ghost peaks? If so, it might be time to deep-clean your HPLC system!
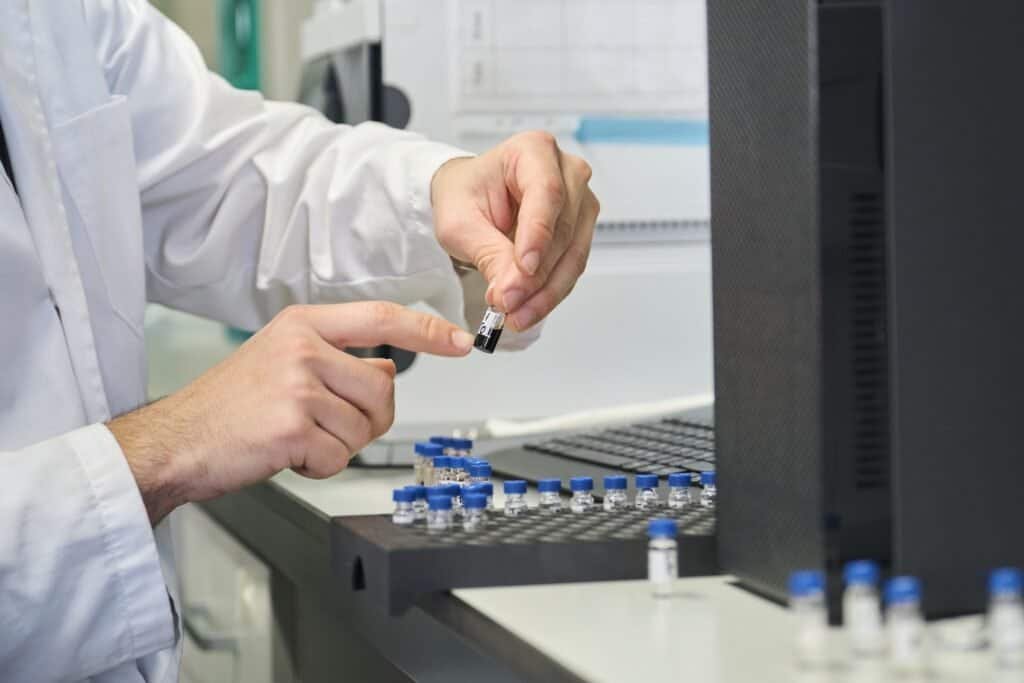
5. Case Study: How a Pharma Lab Eliminated Carryover Issues
A pharmaceutical lab was experiencing false positives in blank injections during routine impurity analysis. Carryover contamination was causing regulatory compliance issues, forcing analysts to repeat runs and waste valuable time.
Investigation & Findings
🔎 Problem:
- High carryover (>5% response in blank injections) in low-concentration samples.
- Persistent ghost peaks even after system washes.
🔎 Root Cause:
- Inadequate autosampler needle wash (single rinse cycle with water only).
- Poor vial selection (standard glass vials, leading to analyte adsorption).
- Insufficient post-run column flushing.
Solution & Results
✔ Implemented a dual-solvent needle wash (acetonitrile/water mix) ➝ Reduced residual analyte on the needle by 90%.
✔ Switched to silanized vials ➝ Eliminated adsorption-related contamination.
✔ Increased system flush cycles and used stronger solvents ➝ Completely removed ghost peaks.
Final Outcome
- Carryover reduced to <0.1%, meeting regulatory requirements.
- Eliminated repeat runs, saving 20% lab time and reducing solvent waste.
This case study proves that small changes in method design, vial selection, and cleaning routines can make a huge impact on HPLC carryover!
Conclusion: Best Practices for Reducing Carryover
To ensure cleaner HPLC runs, remember these key takeaways:
✔ Optimize autosampler washing with dual-solvent rinses.
✔ Use high-quality, silanized vials and PTFE-sealed caps.
✔ Implement strong solvent flushing and regular system cleaning.
✔ Monitor carryover levels with blank injections after high-concentration samples.
✔ Establish routine maintenance schedules to prevent contamination buildup.
By following these best practices, you can eliminate carryover, improve data accuracy, and enhance lab efficiency. Have you encountered carryover issues in your lab? Try these strategies and share your results! 🚀
FAQs
1. What is an acceptable level of carryover in HPLC?
Ideally, carryover should be <0.1% of the analyte signal in blank injections.
2. Can poor-quality vials contribute to carryover?
Yes! Poorly cleaned or non-silanized glass vials can lead to analyte adsorption and contamination.
3. How do I know if my autosampler is causing carryover?
If blanks after high-concentration samples show residual peaks, the needle wash or injection valve may need cleaning.
4. What’s the best solvent for system cleaning?
A mix of water, methanol, acetonitrile, and strong acids/bases (if applicable) works best for most contaminants.
5. How often should I deep-clean my HPLC system?
A monthly deep-cleaning schedule helps prevent persistent carryover issues.