Creating a reference solution for HPLC (High-Performance Liquid Chromatography) analysis might sound complicated, but it’s really just about following a few simple steps. Think of it like baking a cake – you need the right ingredients, careful measurements, and some patience. Let’s walk through it together, step by step.
Why You Need a Reference Solution
Imagine trying to judge a singing competition without ever hearing a professional singer. You need a benchmark to compare the contestants, right? That’s exactly what a reference solution does for your HPLC analysis. It provides a standard that ensures your results are accurate and consistent. Without it, your data could be as unpredictable as a game of roulette, and nobody wants that!
What You’ll Need
Before we dive in, let’s gather all the essentials. Here’s your checklist:
- Pure Standard Substance: This is your gold standard with a known concentration.
- Solvent: The liquid that will dissolve your standard substance, like water, methanol, or acetonitrile.
- Volumetric Flask: For precise measurement of your solutions.
- Pipettes and Tips: For accurate liquid transfer.
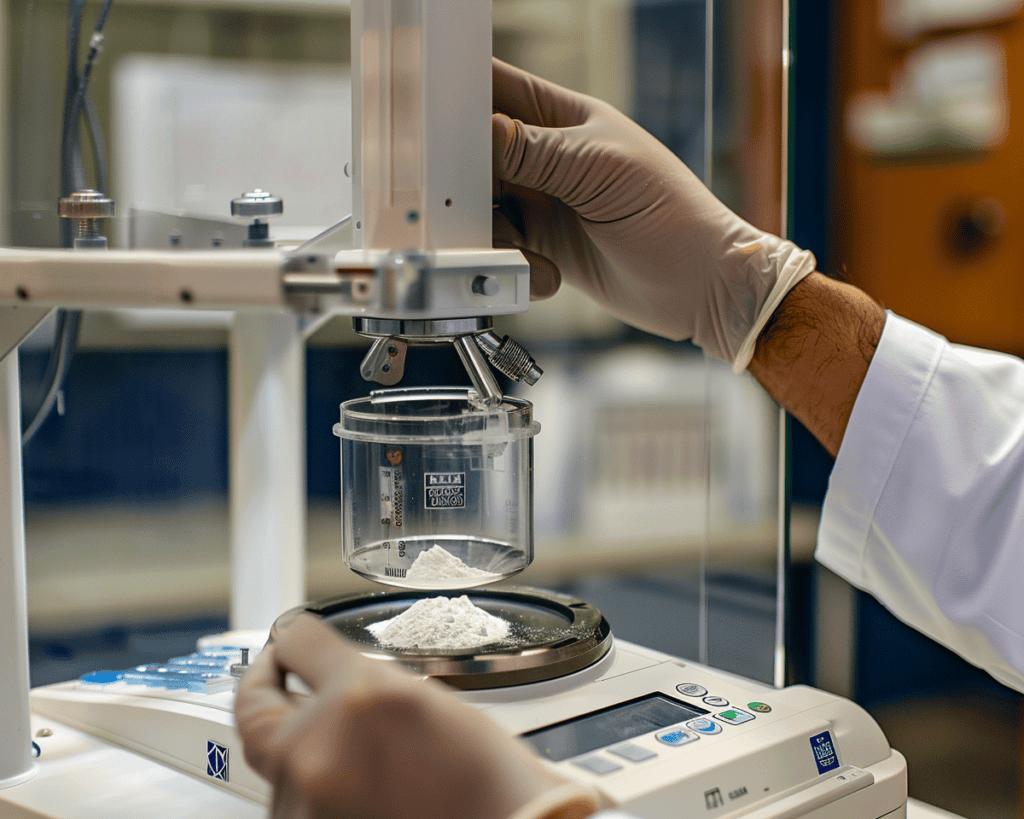
- Analytical Balance: To weigh the standard substance accurately.
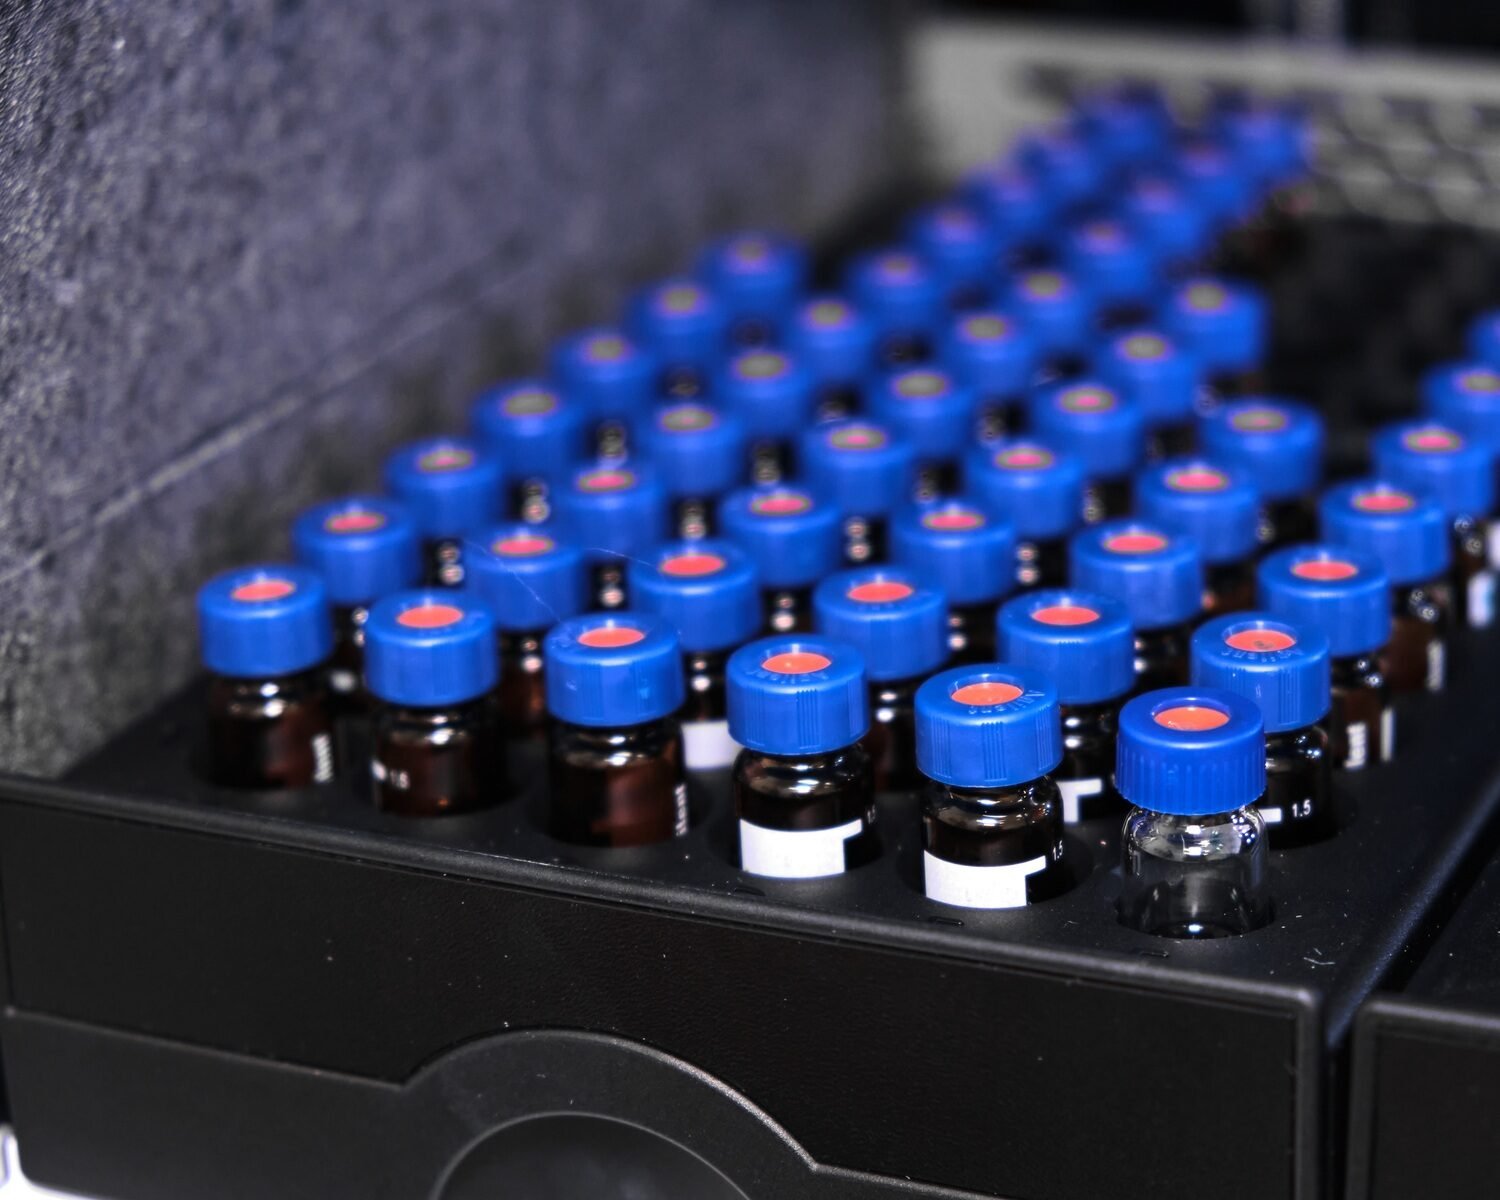
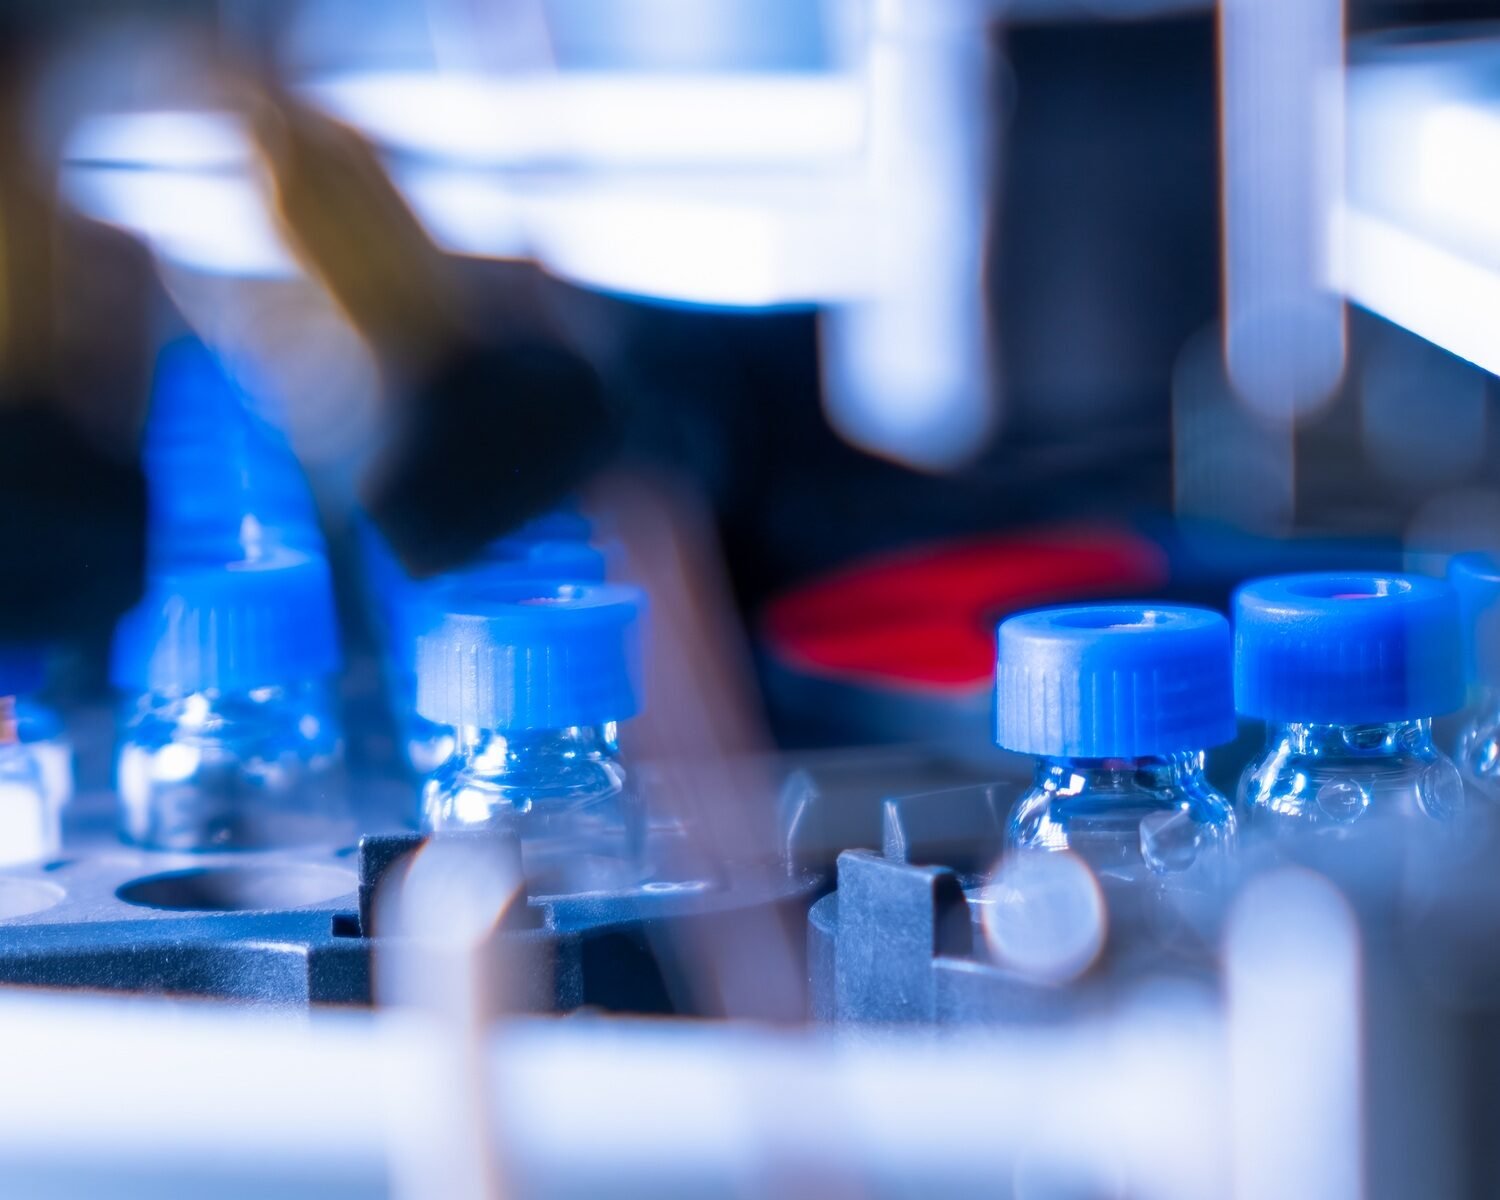
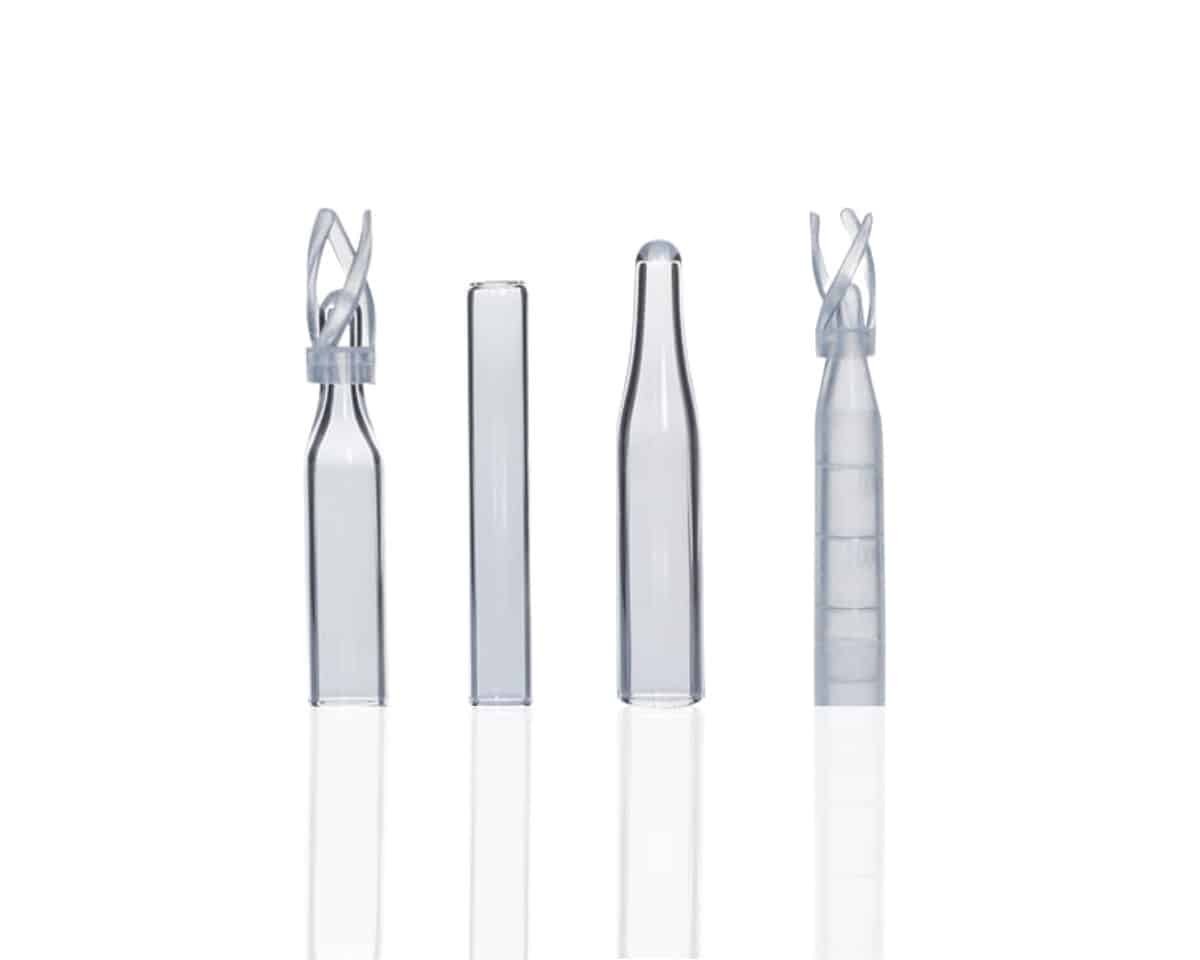
- HPLC Vials: For storing your prepared solutions.

Step-by-Step Guide
Step 1: Weigh the Standard Substance
First things first, weigh your standard substance accurately using an analytical balance. Precision is key here. For example, if you need a 100 ppm (parts per million) solution and your standard substance has a molecular weight of 100 g/mol, you’ll need to weigh out 10 mg of the substance.
Step 2: Dissolve the Standard Substance
Carefully transfer the weighed standard substance into a clean volumetric flask. Add a small amount of your chosen solvent and gently swirl the flask until the substance is fully dissolved. It might take a few minutes, so be patient – just like dissolving sugar in your tea.
Step 3: Dilute to the Mark
Once the standard substance is dissolved, fill the volumetric flask with the solvent up to the calibration mark. Ensure the bottom of the meniscus is level with the mark when viewed at eye level. This step is crucial for maintaining the accuracy of your solution.
Step 4: Mix the Solution
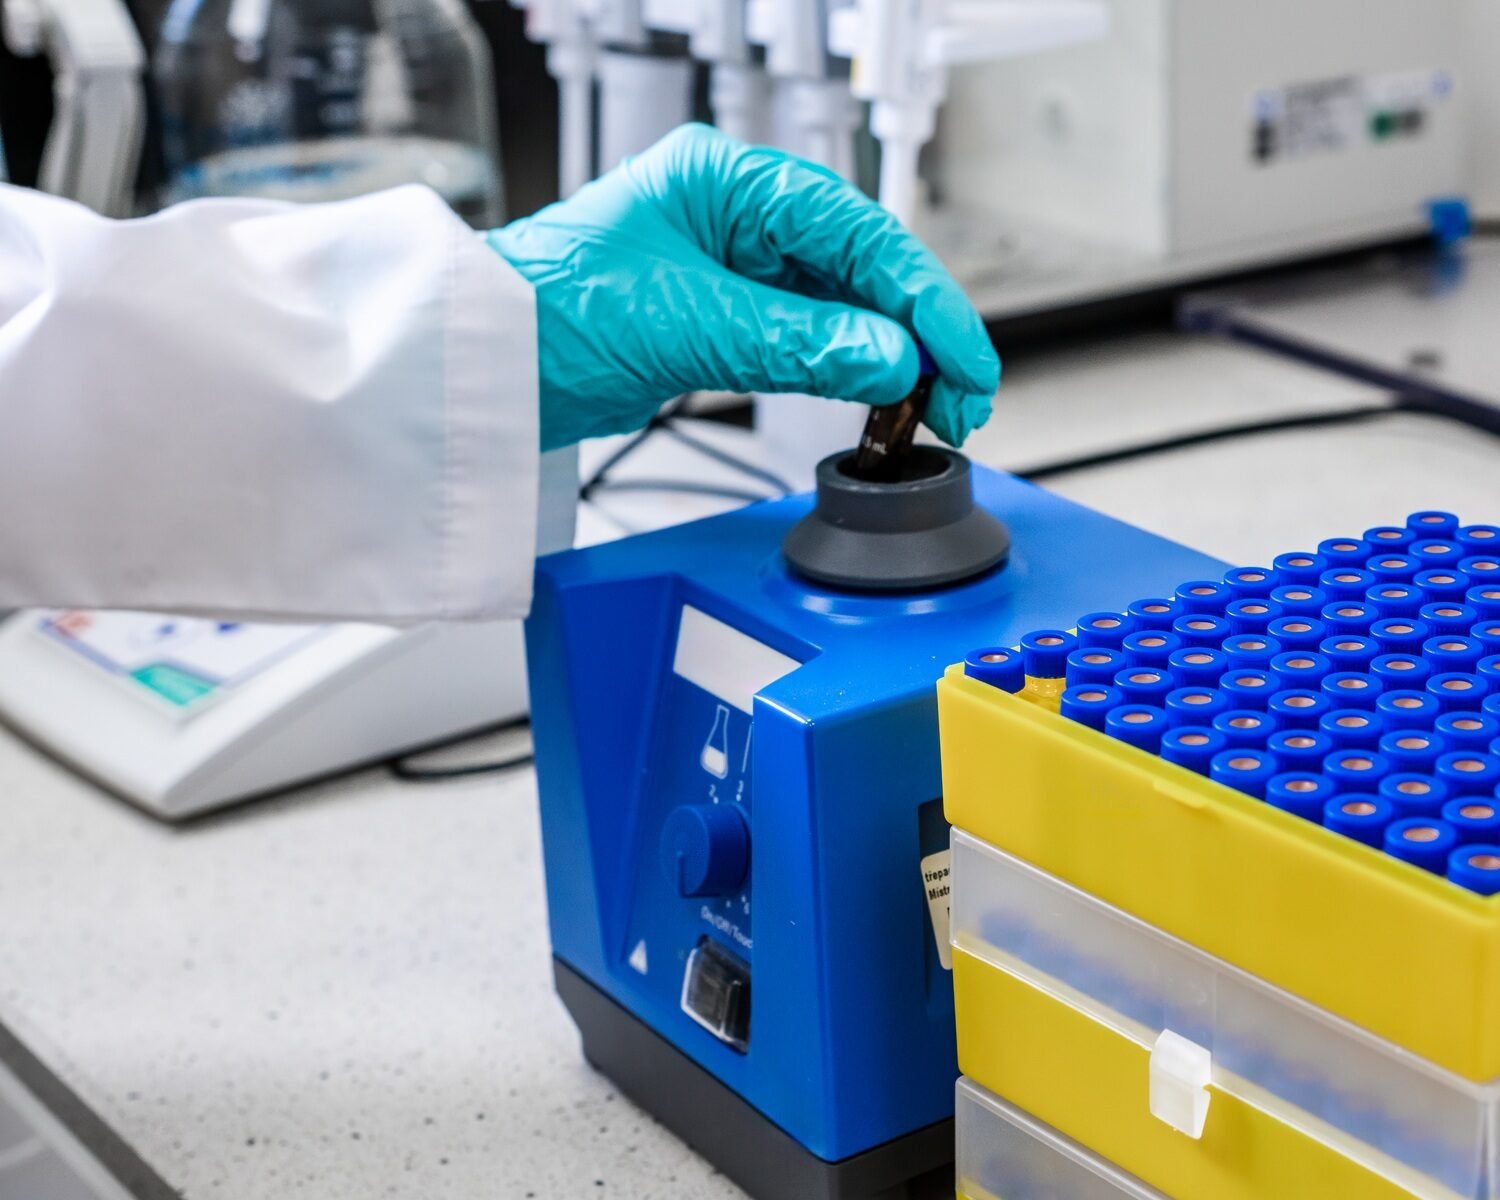
Cap the flask and invert it several times to ensure the solution is thoroughly mixed. Homogeneity is essential for consistent results, so don’t skip this step.
Step 5: Transfer to HPLC Vials
Using pipettes, transfer the prepared reference solution into HPLC vials. Label the vials with the concentration and the date of preparation. Proper labeling helps in avoiding mix-ups and keeps track of the solution’s age.
Tips for Success
Use High-Purity Reagents
Always use high-purity reagents to prepare your reference solutions. Impurities in your standard substance or solvent can lead to inaccurate results. Trust me, you don’t want to chase ghosts in your chromatograms.
Regular Calibration
Regularly calibrate your analytical balance and pipettes. This might seem like a chore, but it’s worth it. Calibration ensures that your measurements are accurate and reliable.
Store Solutions Properly
Store your reference solutions in a cool, dark place. Light and heat can degrade many compounds, altering the concentration of your reference solution. Some solutions might even need refrigeration, so check the storage requirements for your specific compound.
Document Everything
Keep detailed records of your preparation process, including the weights, volumes, and concentrations. This documentation is invaluable for troubleshooting any issues that might arise during your HPLC analysis.
Why Accuracy Matters
Inaccurate reference solutions can lead to erroneous conclusions. Imagine spending weeks on a project only to realize that your reference solution was off. Frustrating, right? Accurate reference solutions save time, resources, and ensure the validity of your results.
Common Mistakes and How to Avoid Them
Using Impure Solvents
Using solvents that are not pure enough can introduce contaminants into your reference solution. Always opt for HPLC-grade solvents to avoid this pitfall.
Inaccurate Weighing
Even a slight error in weighing the standard substance can throw off your entire solution. Double-check your measurements and ensure your balance is calibrated.
Improper Mixing
Failing to mix the solution thoroughly can result in concentration gradients within the flask. Always invert the flask multiple times to achieve a homogenous solution.
Incorrect Storage
Storing the solution in inappropriate conditions can degrade the standard substance. Always follow the recommended storage guidelines.
Real-Life Example: Preparing a Caffeine Standard Solution
Let’s say you’re preparing a caffeine standard solution. Here’s a practical example to make things clearer.
Step-by-Step Example
- Weigh 10 mg of pure caffeine using an analytical balance.
- Transfer the caffeine into a 100 mL volumetric flask.
- Add about 50 mL of water to dissolve the caffeine completely.
- Fill the flask up to the 100 mL mark with water.
- Invert the flask several times to ensure thorough mixing.
- Transfer the solution into HPLC vials and label them appropriately.
This caffeine solution can now be used as a reference to analyze the caffeine content in various samples, like coffee or energy drinks.
Conclusion
Making a reference solution for HPLC analysis may seem daunting, but with these steps, you’ll be well on your way to success. Remember, accuracy and attention to detail are your best friends in this process. By following these guidelines, you’ll ensure that your HPLC analyses are accurate and reliable. If you have any questions or need further assistance, don’t hesitate to reach out to experts in the field or consult authoritative sources like the Journal of Chromatography or the American Chemical Society.
Now that you know how to prepare reference solutions, you’re ready to tackle your HPLC analyses with confidence. Happy experimenting!
Happy analyzing!
Sources:


