Introduction: The Significance of Sample Prep in HPLC Accuracy
When it comes to High-Performance Liquid Chromatography (HPLC), we all know that precision is key. But, here’s something I’ve noticed over the years—while most researchers focus on optimizing the chromatographic system itself, they often overlook one crucial aspect: sample preparation. Honestly, sample prep is one of those behind-the-scenes heroes that can make or break your results.
Think about it—if the sample isn’t prepared properly, even the most advanced HPLC system can give you inaccurate, inconsistent, or downright erroneous results. Proper sample prep ensures that the analytes are in the right form for separation, minimizes interference, and ultimately improves the precision of your analysis. So, how do we get it right? What techniques can we use to ensure that our samples are clean, reproducible, and ready for the HPLC system?
Let’s dive into some common practices and modern solutions to get the most out of your sample preparation process.

Common Sample Preparation Techniques
Filtration: A First Line of Defense
Before anything else, filtration is often the first step in preparing samples for HPLC. I’m sure you’ve experienced this: you get a beautiful chromatogram, but suddenly, a strange peak pops up, and you’re scratching your head, wondering where it came from. More often than not, the culprit is particulate matter in your sample.
So, what’s the solution? Filtration! By using a simple syringe filter or a vacuum filtration system, you can effectively remove unwanted solids from your sample. This step not only prevents contamination of your HPLC system but also ensures that your analytes are properly represented in the chromatogram.
Filtration is especially important when working with biological samples, like blood or tissue extracts, which tend to contain cellular debris or proteins that could interfere with the analysis. Don’t you think it’s a small effort for such a big improvement in your results? I’ve seen labs go from getting unreliable data to having clean, reproducible results just by implementing a solid filtration process.
Extraction: Getting the Right Analytes
When you’re dealing with complex matrices, extraction techniques are vital. If your sample is diluted or complex, you need to isolate the analyte of interest to achieve reliable results. This is where methods like liquid-liquid extraction (LLE) or solid-phase extraction (SPE) come in handy.
For instance, in environmental analysis, you might need to extract pesticides from water or soil samples. With the right extraction technique, you ensure that the sample has the correct analytes in a concentrated form, ready to be analyzed without interference.
What I find fascinating is that, over the years, extraction methods have become more efficient, thanks to advancements in materials and automation. Have you ever used SPE in your workflow? If not, you might want to give it a try—it’s an excellent way to improve both the purity and reproducibility of your samples.
Dilution: Simplifying Complex Samples

And then there’s dilution. Sometimes, your sample might be too concentrated or too complex to analyze directly. Here’s where a well-calculated dilution can make a world of difference. By diluting the sample to a level where analytes are more easily separated, you ensure more accurate, reliable results without overloading the column or detector.
What’s great about dilution is that it’s a simple and cost-effective technique. But here’s the trick: you need to know the right dilution factor, which requires a bit of experience. Too much dilution, and you might miss important peaks; too little, and you risk overloading the system. Getting it just right requires practice, but the payoff is worth it!
Avoiding Contaminants and Artifacts
Preventing Contamination During Preparation
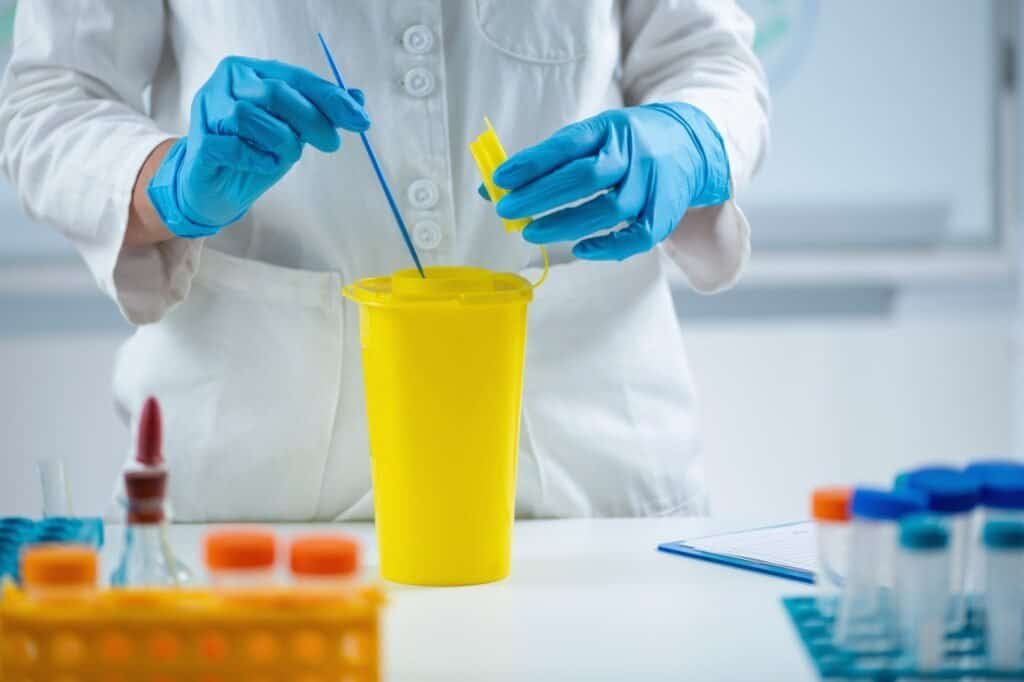
Contamination is a constant concern during sample preparation, and trust me, it’s easy to let little things slip by. But even the smallest amount of contamination—whether from improperly cleaned glassware, solvents, or your own gloves—can ruin an entire run. It’s the worst feeling, isn’t it? You run the sample, only to realize something has interfered with your results, and you have to start over.
So, how can you avoid this? First, make sure to clean your glassware thoroughly before use. Residual solvents or compounds left in the vials, pipettes, or flasks can easily cause cross-contamination. Using dedicated cleaning solutions or sonication can help remove any lingering contaminants from previous runs.
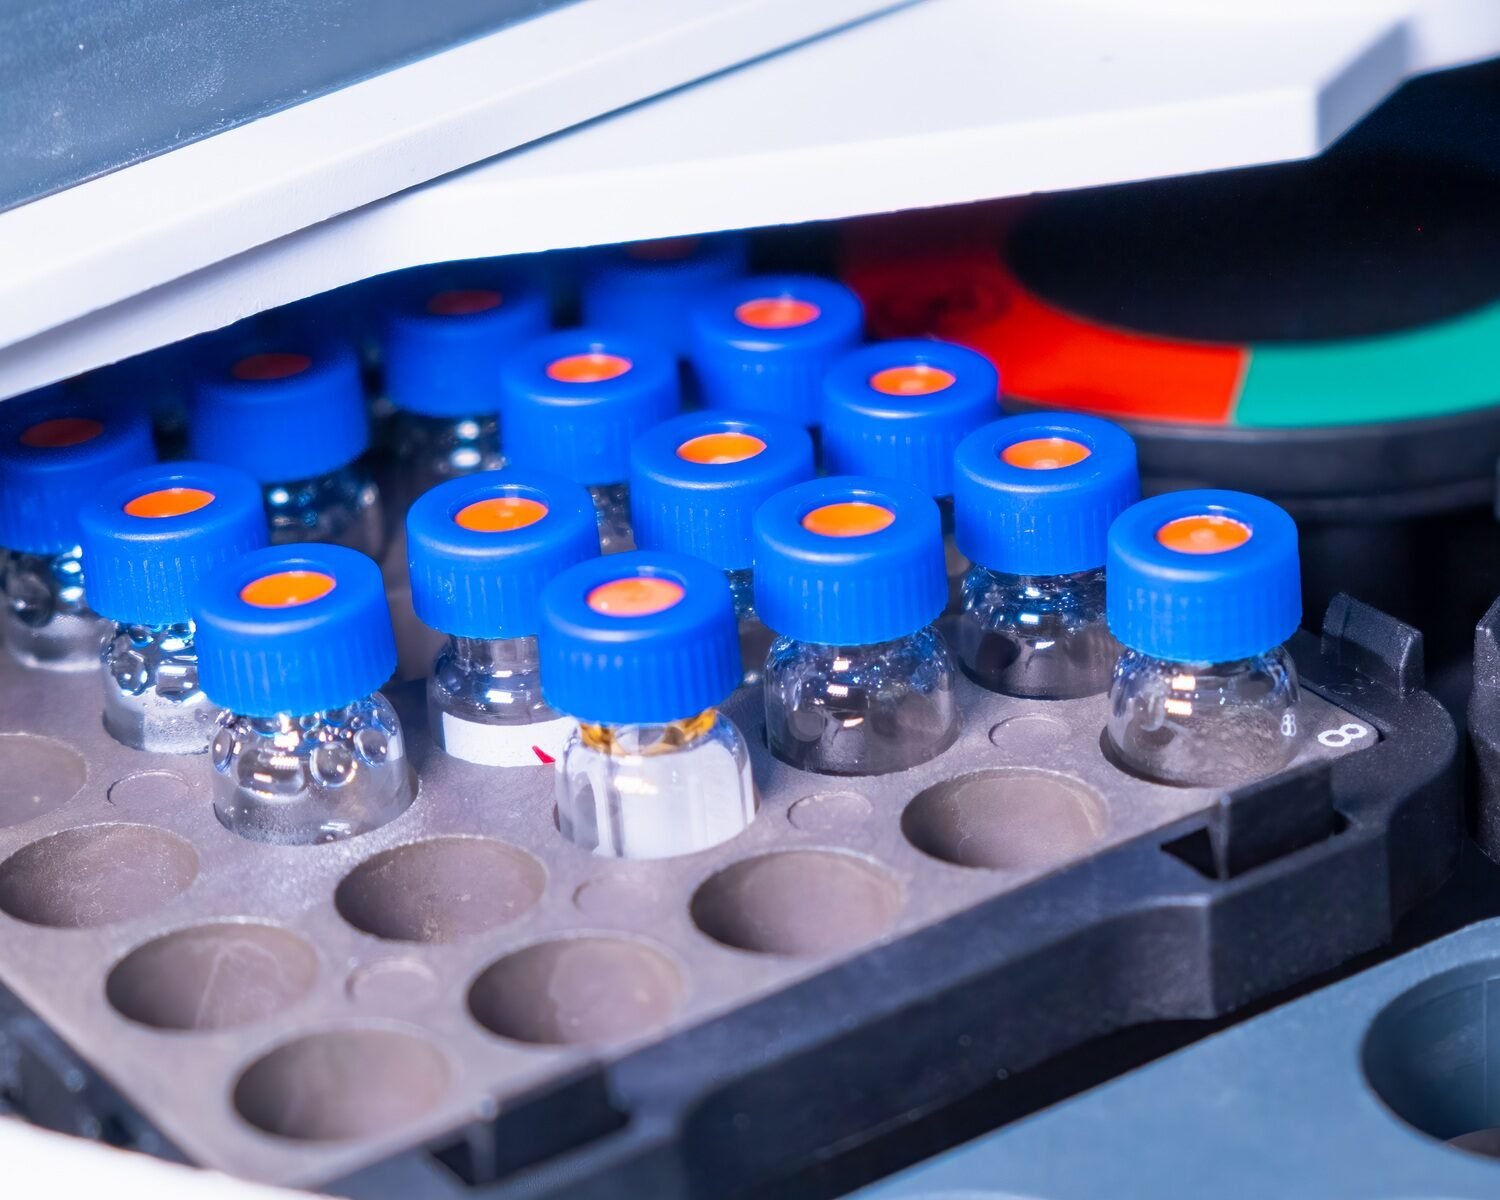
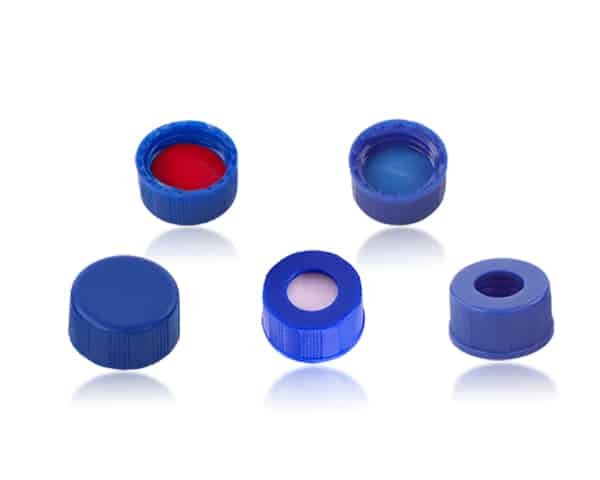
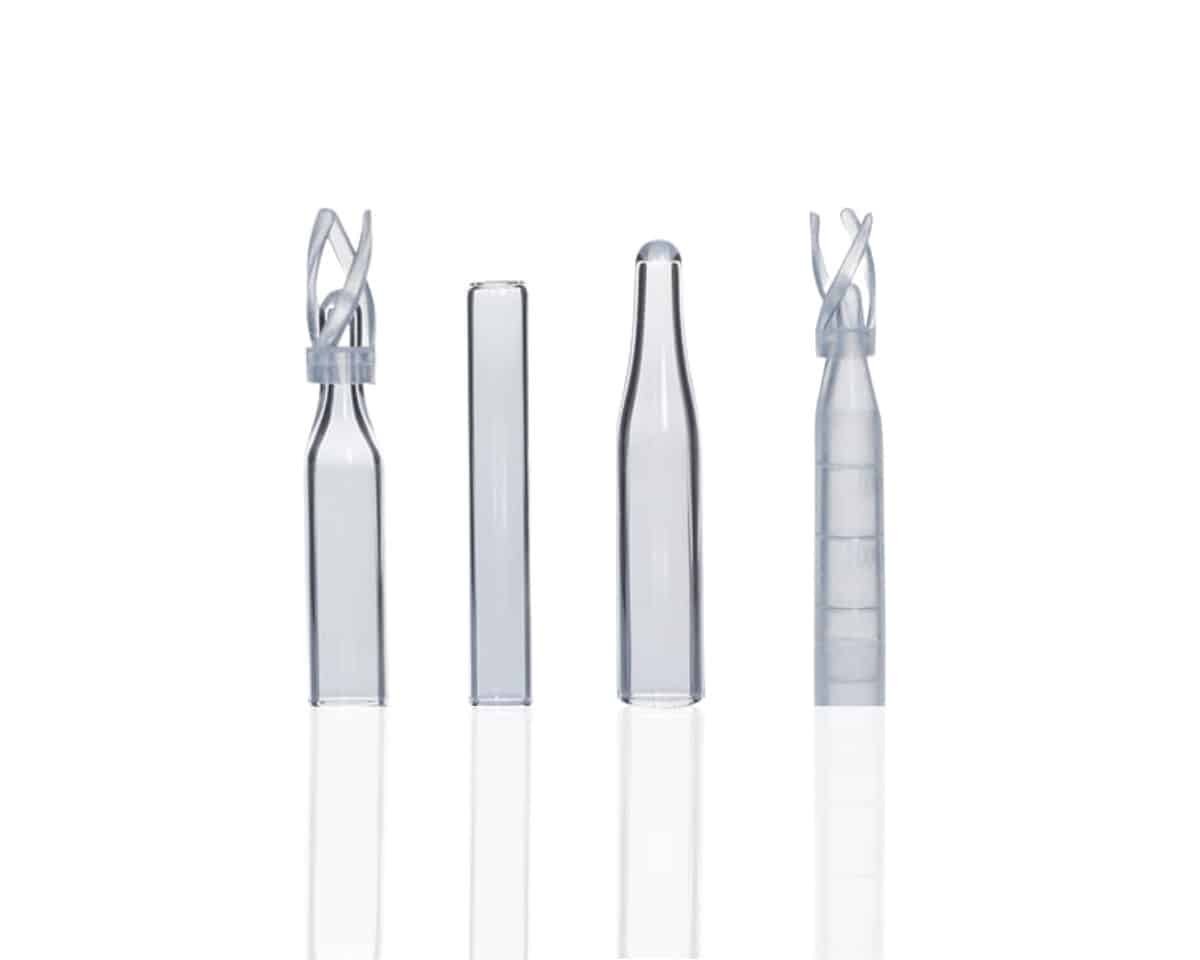
Next, always use high-quality reagents and solvents. Many labs use the highest grade solvents, but they forget about sample vials and standards. If your sample vials have traces of old compounds or solvents, they’ll show up in your chromatogram, and that’s never a good thing. Have you ever had a sample contaminate your analysis because of something so small, like a vial residue? I have, and it’s one of the most frustrating things in chromatography.
Finally, use proper handling techniques. This includes changing gloves regularly, ensuring that your work area is clean, and properly labeling samples to avoid mix-ups.
Preventing Artifacts in HPLC Results
Artifacts are another headache in sample preparation. These are unwanted signals or peaks that show up in your chromatograms, often due to improper handling or sample prep issues. For example, if your sample is exposed to light or air for too long, certain compounds may degrade, leading to baseline drift or distorted peaks.
One way to prevent artifacts is by avoiding sample degradation. Store samples in tightly sealed containers, away from light, and at the appropriate temperature. If you’re working with sensitive compounds, consider keeping them in dark, refrigerated conditions until they are ready to be analyzed.
Also, try to minimize sample matrix effects, which occur when other components in your sample interfere with the analyte’s behavior during chromatography. Using techniques like SPE or LLE can help isolate the analytes of interest, reducing the potential for matrix effects.
Sample Prep Automation: Efficiency and Consistency in Modern Labs
The Rise of Automated Sample Preparation
Have you noticed the trend toward automation in the lab? It’s been growing rapidly in recent years, and for good reason. Automated sample preparation systems offer consistency, speed, and, most importantly, accuracy. These systems can filter, extract, dilute, and prepare multiple samples at once, reducing human error and saving valuable time.
But automation doesn’t just improve speed—it can also make your results more reproducible. Imagine running a whole batch of samples with identical preparation steps, every single time. That’s the kind of consistency that can elevate your chromatography game to the next level.
I’ve had the chance to work with automated systems, and I can’t stress enough how much they’ve helped streamline workflows and reduce variability. If you’re still doing everything manually, maybe it’s time to look into automation. What do you think? Does your lab use automated systems? If not, what’s holding you back?
Advantages of Robotic Sample Preparation Systems
Robotic systems are an excellent example of how sample prep automation has evolved. These robots can prepare dozens of samples at a time with minimal human intervention. This reduces the risk of contamination, ensures uniformity in preparation, and, of course, frees up researchers’ time for more complex tasks.
Additionally, robotic systems are programmable—meaning you can set them to handle a variety of sample types and preparation methods, and they’ll execute with precision. That means no more repetitive work, no more inconsistencies, and a whole lot more productivity. Pretty cool, right?

Conclusion: How Proper Preparation Enhances HPLC Reliability
In the world of chromatography, sample preparation is the unsung hero. Whether it’s filtration, extraction, dilution, or even automating the process, getting the sample ready for analysis is half the battle. Proper sample prep minimizes contamination, avoids artifacts, and ensures that your HPLC system performs at its best.
I know it sounds like a lot of work, but the payoff is well worth it. The more attention you pay to your sample preparation, the more reliable your results will be. After all, the accuracy of your HPLC analysis starts with how well you prep your sample. So, next time you’re about to run a sample, think about the steps you’re taking before that vial even hits the HPLC column.
Are you ready to improve your HPLC results by fine-tuning your sample preparation process? I’m sure you are—it’s a small effort with big rewards!
FAQ Section
1. Why is sample preparation important in HPLC?
Sample preparation is crucial because it removes impurities, isolates the analyte, and ensures that the sample is in the right form for analysis, leading to more accurate and reliable results.
2. How do I choose the right filtration method for my sample?
Choosing the right filtration method depends on your sample’s matrix. For particulate matter, syringe filters work well, while vacuum filtration can handle larger volumes.
3. Can automation improve my sample preparation process?
Yes, automated systems improve consistency, reduce human error, and increase throughput, making your sample preparation more efficient and reliable.
4. How can I prevent contamination during sample prep?
Clean glassware thoroughly, use high-quality reagents, and handle samples carefully. It’s essential to maintain a clean work environment and use fresh gloves during prep.
5. What are the best methods for extracting analytes from complex samples?
Methods like liquid-liquid extraction (LLE) and solid-phase extraction (SPE) are effective for isolating analytes from complex samples, depending on the nature of the sample.


